Bob Loveless Knife Tutorial
Originally published by David Sharp at www.britishblades.com
http://www.britishblades.com/forums/showthread.php?144509
Copyright David Sharp
These are as close to a Loveless knife as my current ability will allow. The first sequence is a bit boring. I started taking pictures not intending to share and then thought that people might find this interesting so the pictures get better. So that said here goes:
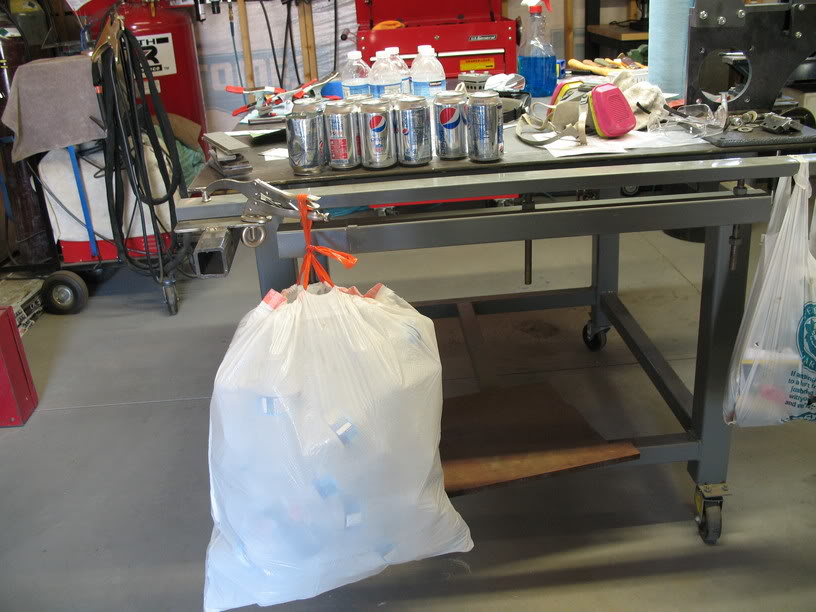
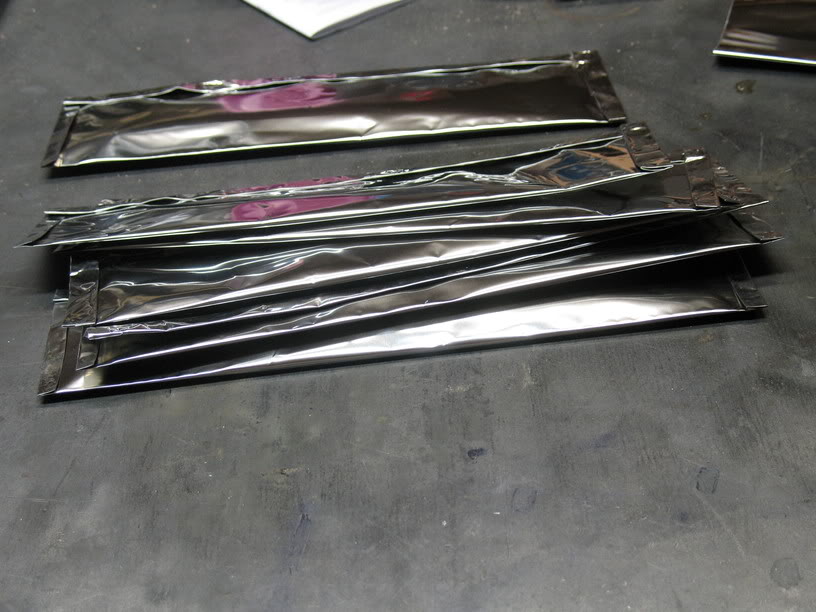
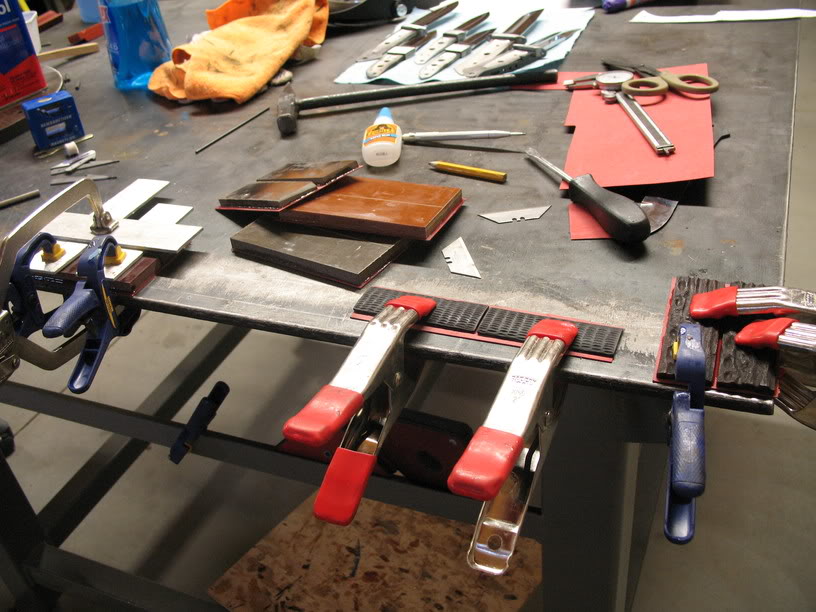
A small sample of the beverages that were injured during the making of this

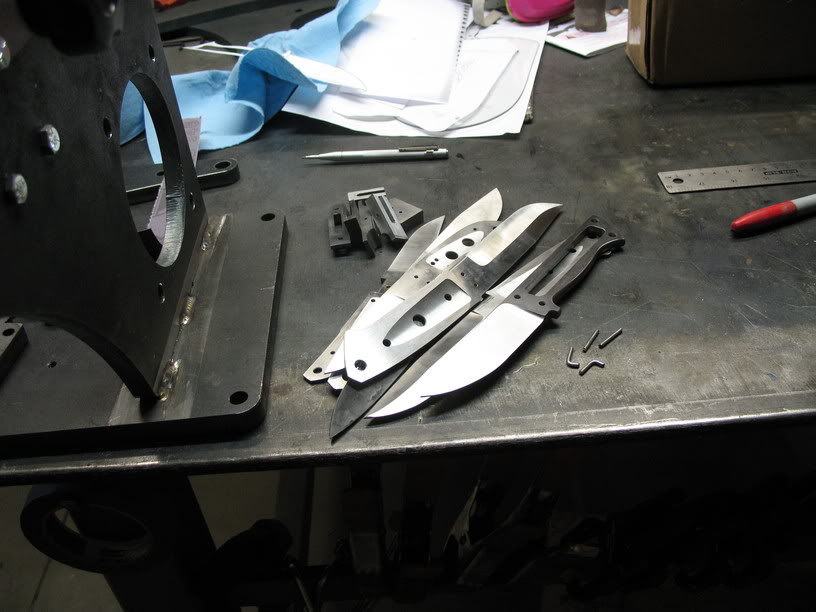
A small sample of patterns. My thought is that if I am going to imitate somebody's work; do it correctly and faithfully! Part of that faithful duplication is that all my blades come from steel patterns. I am enough of a weirdo that I would show up at the Loveless shop with plates of steel and scribe patterns to steel instead of risking the transition from steel/paper/steel. I also go through this process with my original designs.

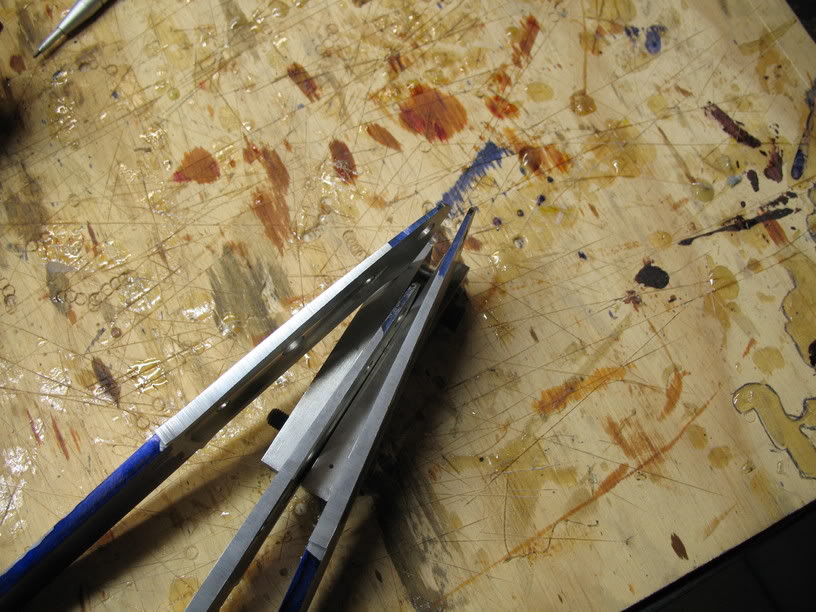
Clamp a pattern to steel and scribe the profile; I think pretty self explanatory.
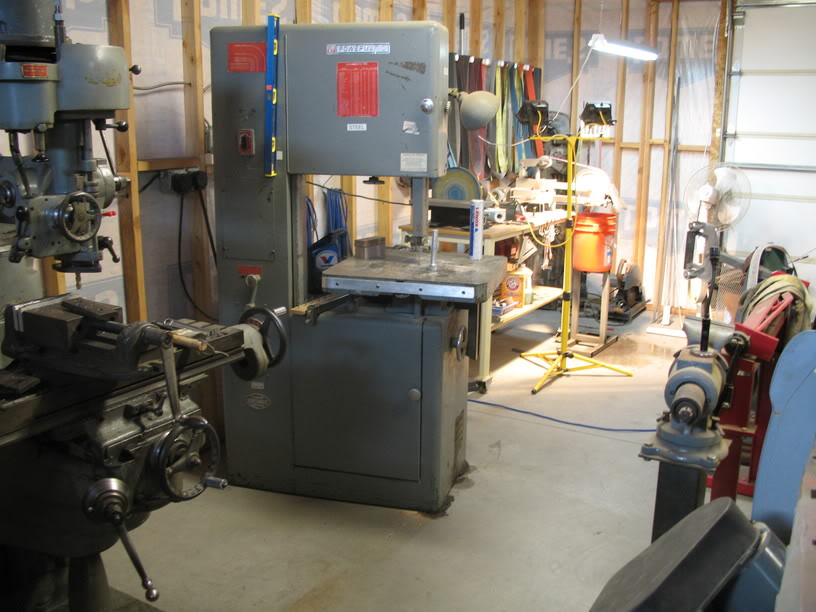
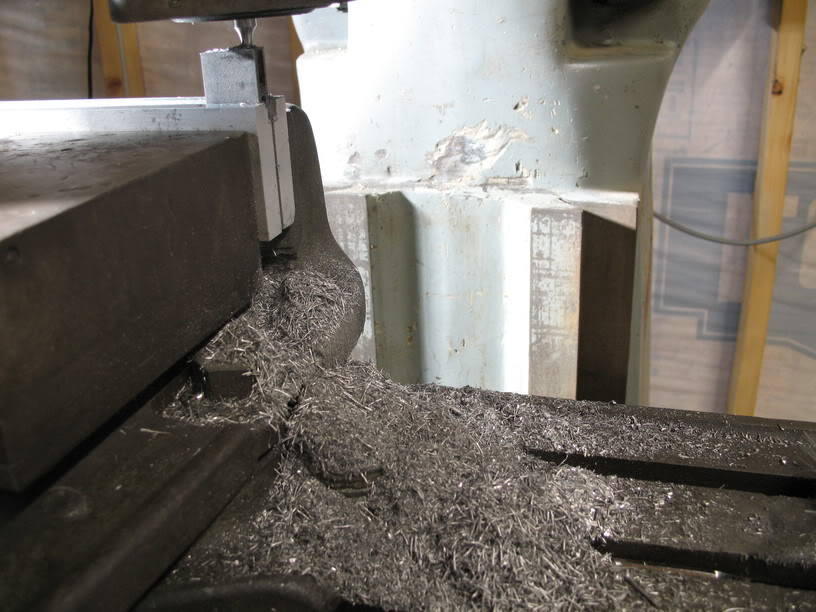
My weapon of choice when it comes to profiling blades (A vintage Powermatic metal cutting band-saw; I love older equipment). IIRC it weighed in at a whopping 1200 lbs. Don't mind the shop It came to a screeching halt when I was diagnosed with cancer. At least there is a roof and four walls (29x32 with 10' walls) just wish it was insulated.
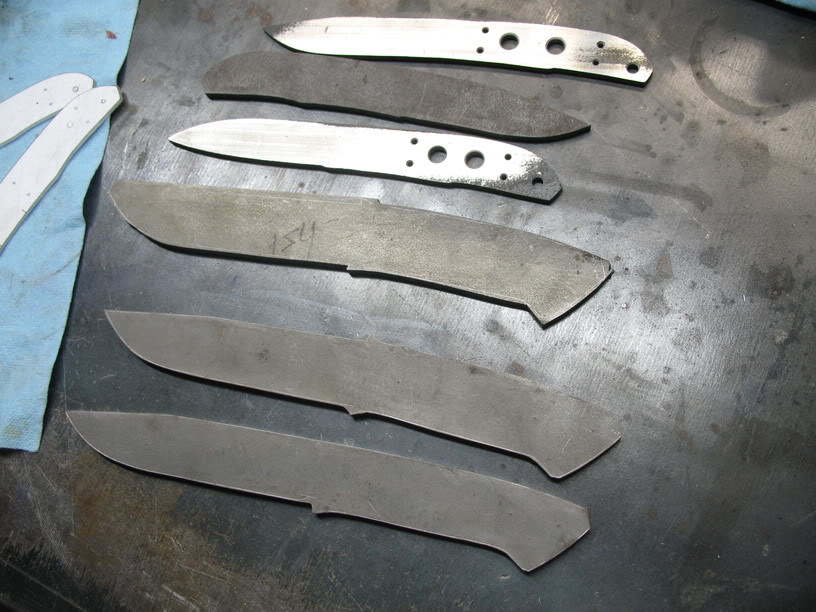
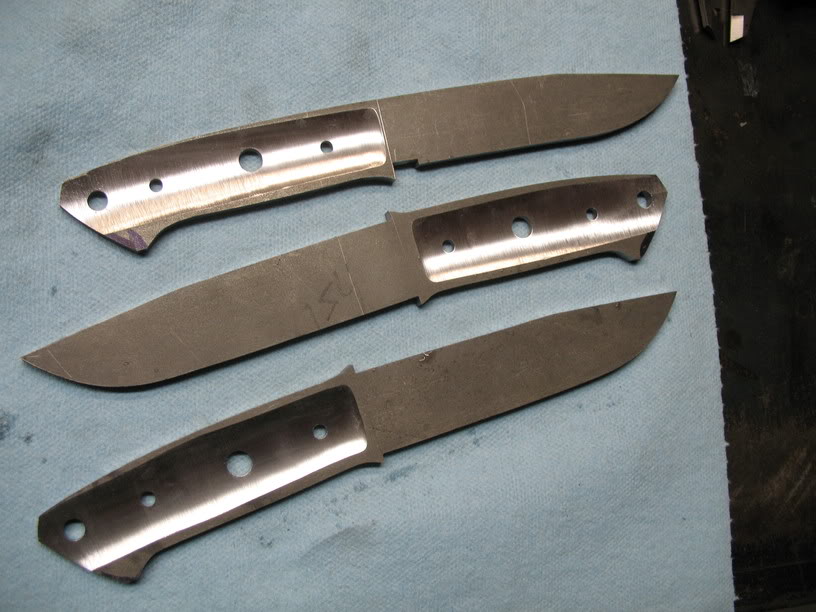
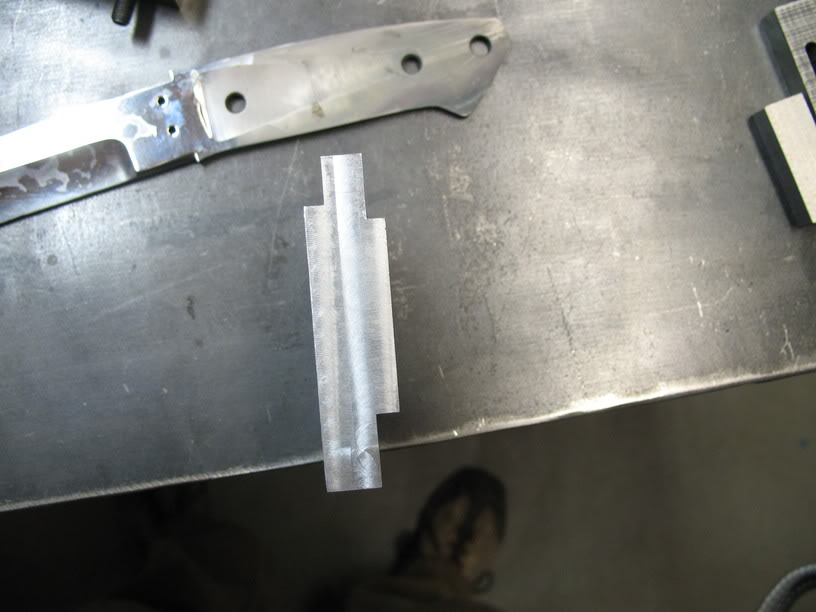
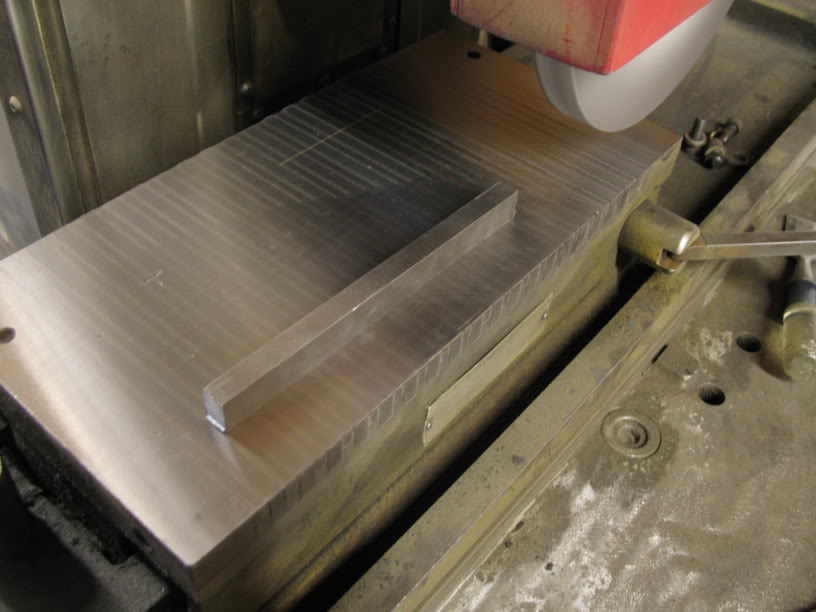
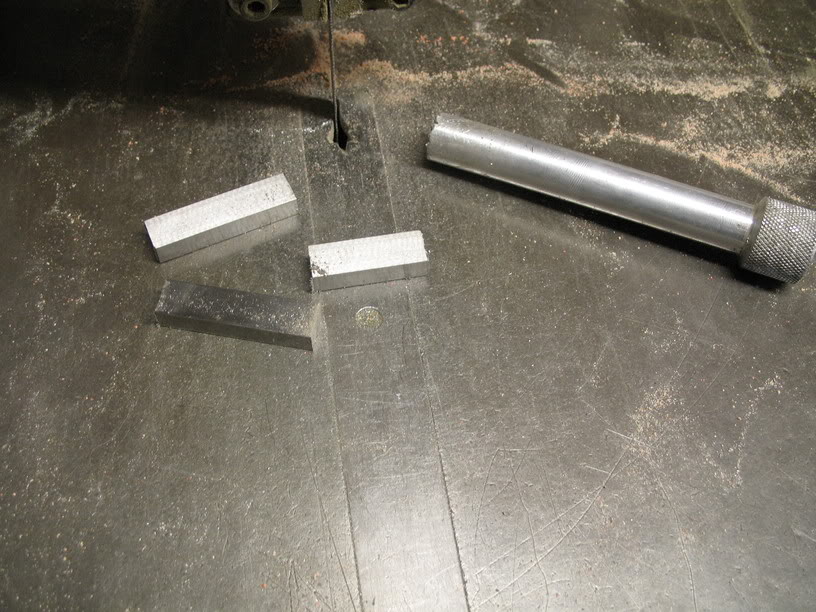
Tough to see (scribe lines intact)but these are cut to profile; pretty close but will need some grinder time.
Ground to profile. I try to split the scribed line so that my finished product is as close to the the real thing as possible.

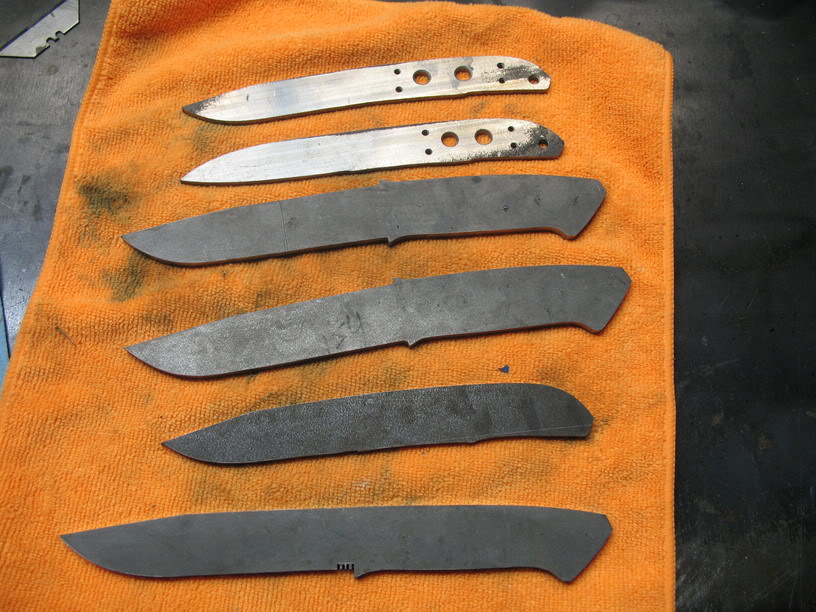
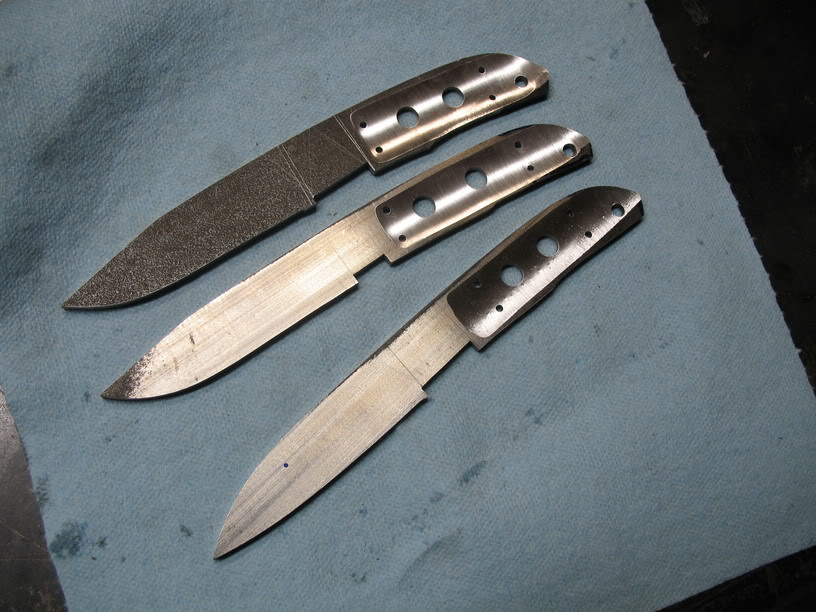
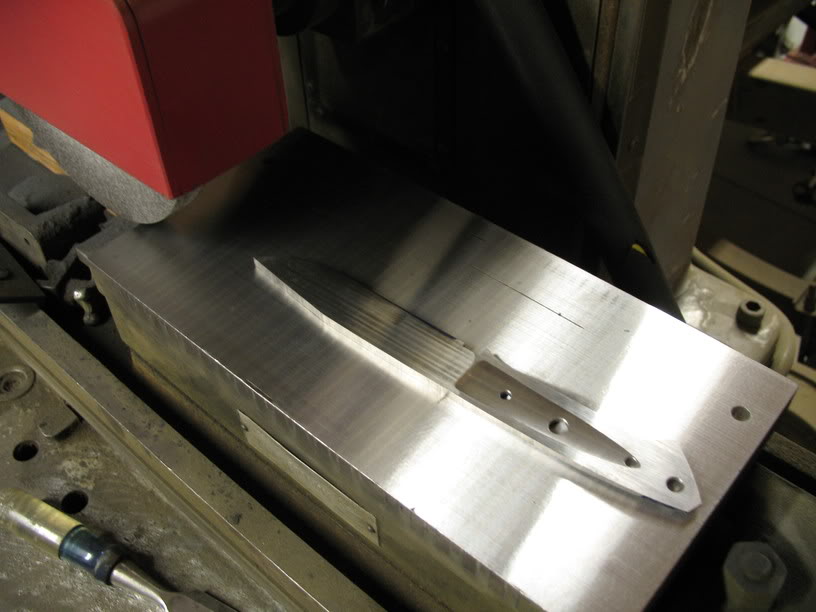
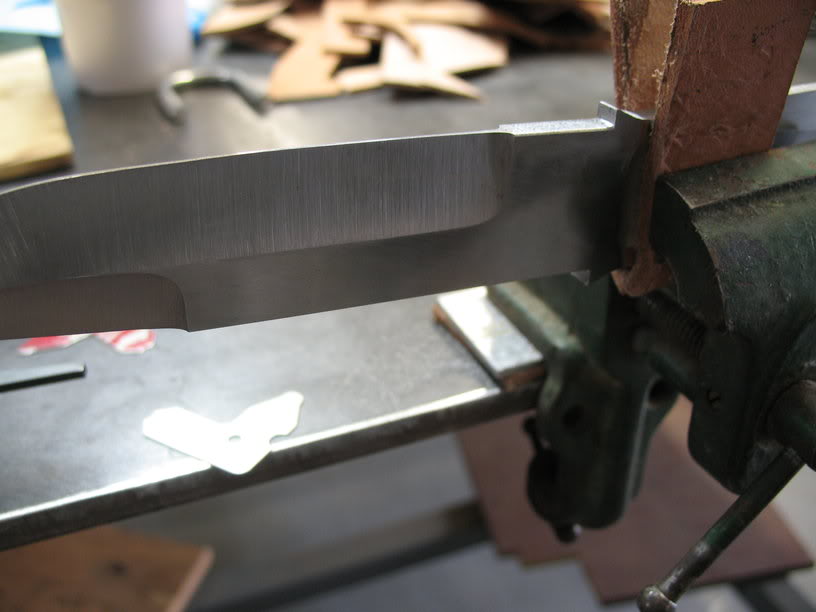
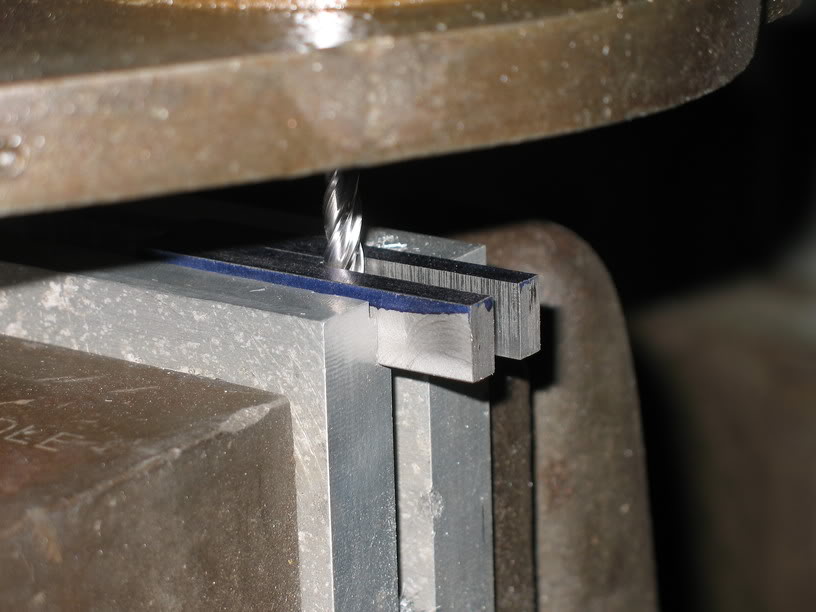
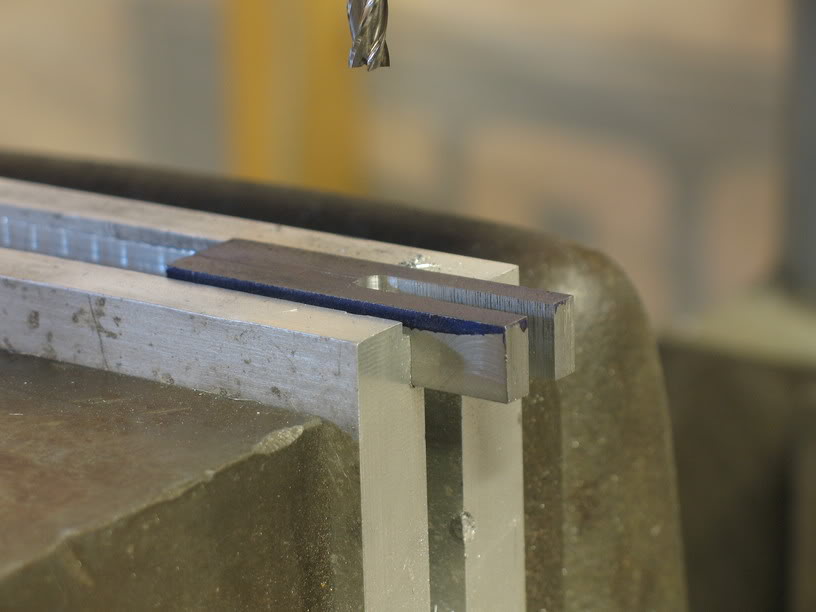
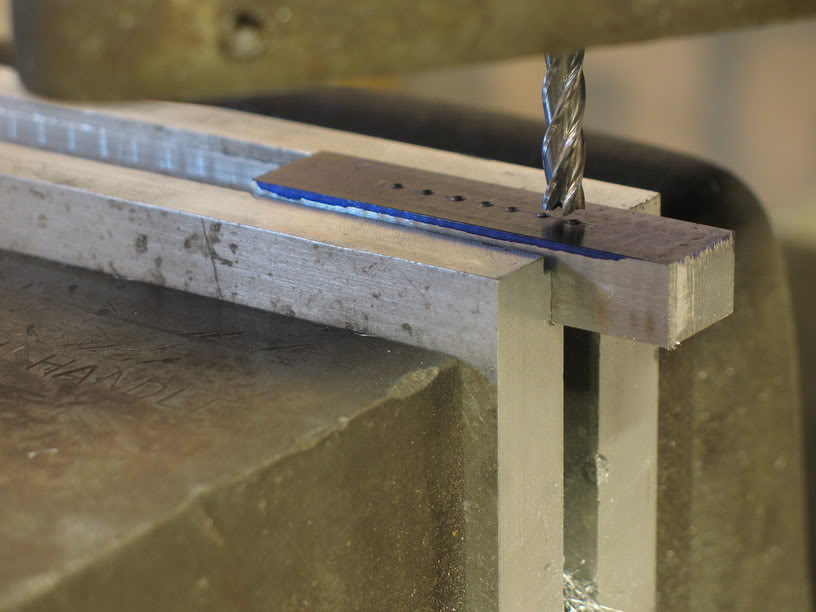
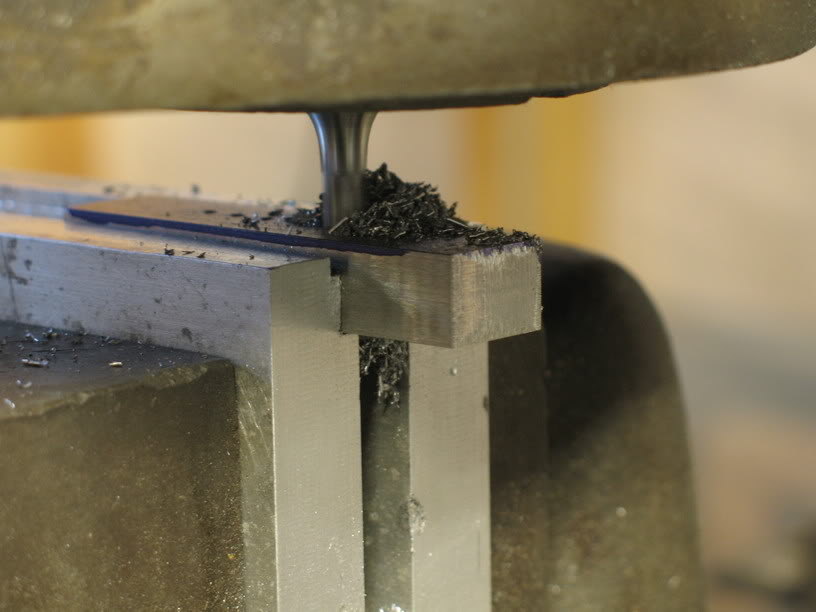
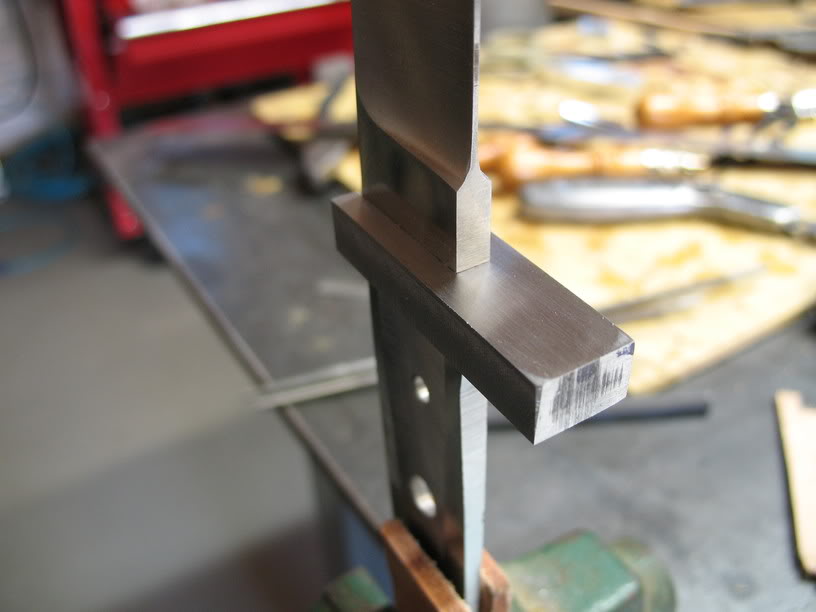
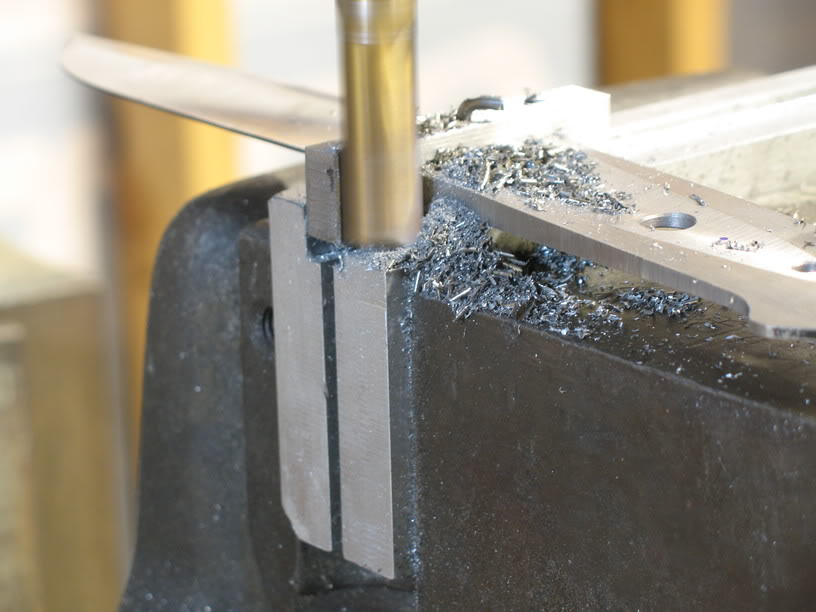
As compared to the previous picture you can see the guard slots milled in along with bolt holes and lanyard tube holes. These two steps are critical to getting a Loveless pattern as close as can be to an original.
Ready to taper tangs. I "groove" the handle area straight out the butt of the knife instead of trying to make a divot in the center of the handle. I use a height gauge and surface plate to scribe reference lines on the butt and then grind the groove from guard to butt to the depth of the scribed lines.
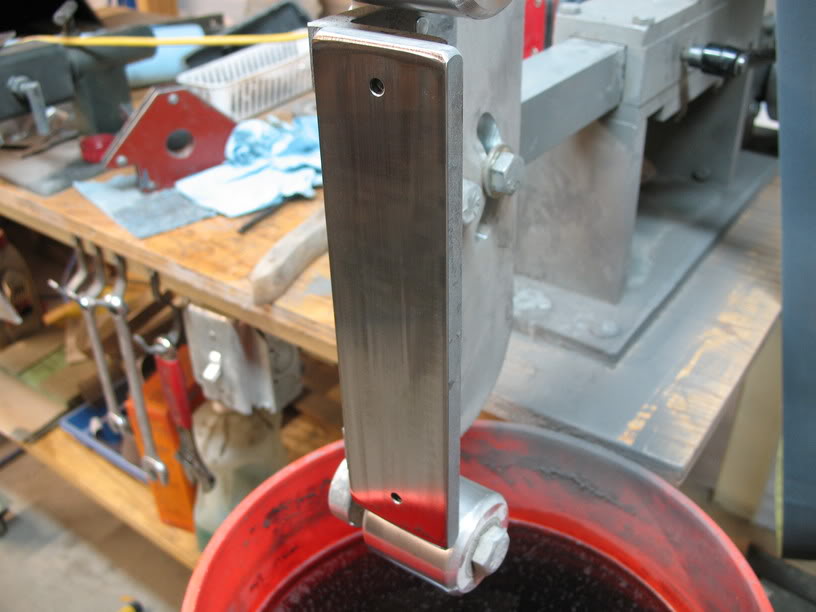
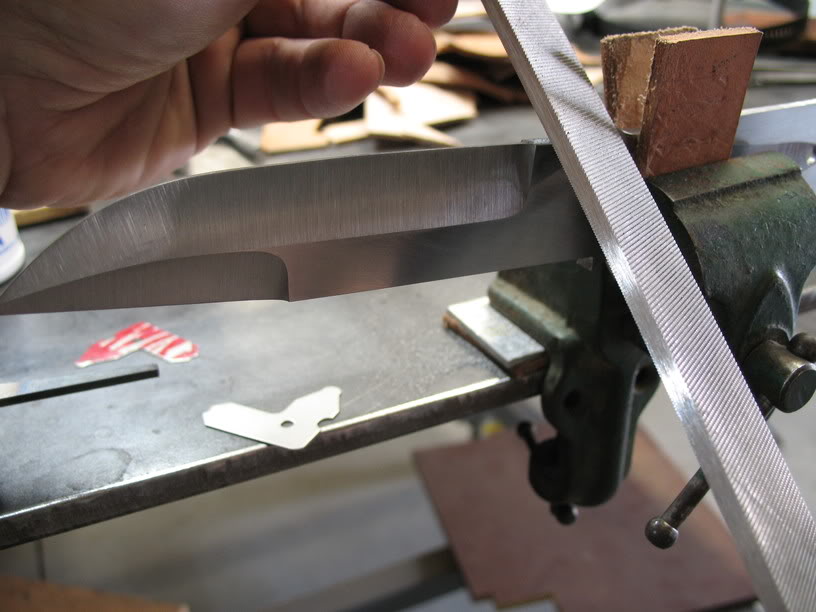
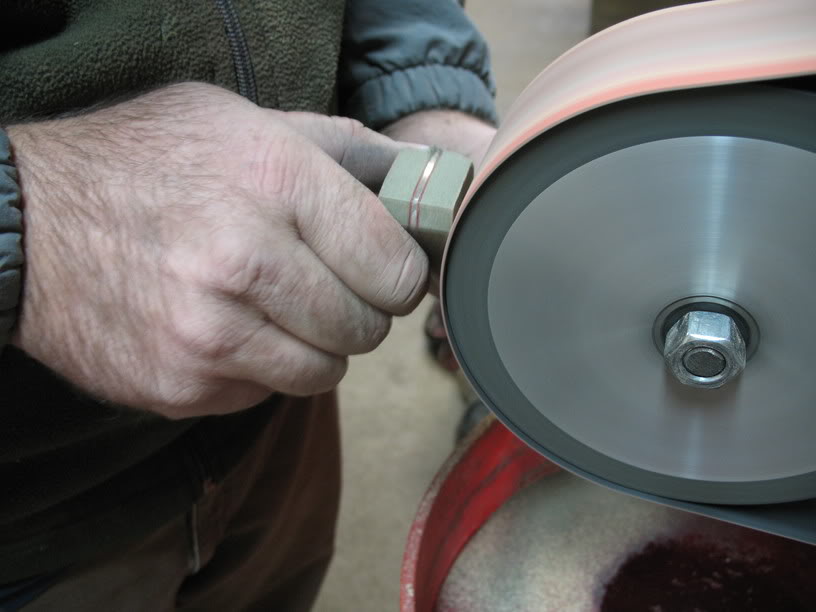
A key to tapering the tang is a [U]FLAT[/U] platen or a disk sander; I have a surface grinder and currently find the platen easier, so this platen gets flattened regularly.
I have seen a number of tools/devices used to hold the blade while tapering the tang but so far a large welding magnet works for me. It's large surface makes sure that even pressure is applied (guard to butt). Sorry forgot to shave my knuckles!

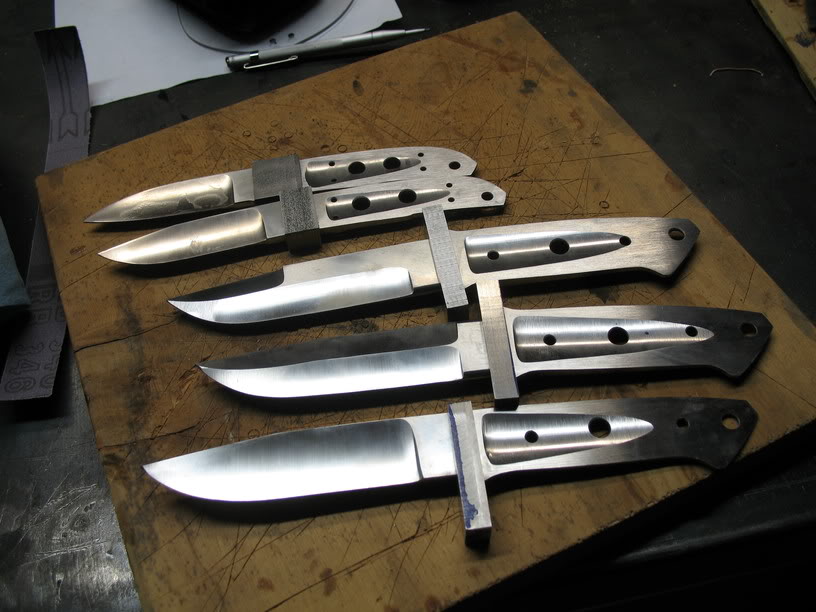
6 knives tapered. Referring back to the pre-taper groove; I have a tendency of going overboard. I rough out the groove with a 50 grit belt and finish at 400. I have a fear of deep scratches causing issues with stress risers (goes back to my Off-Road fab days).
Top view.
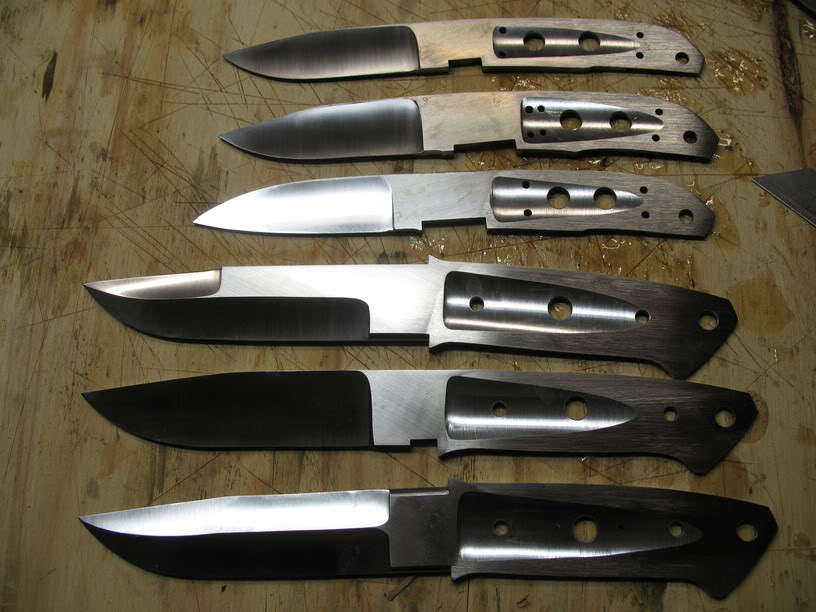
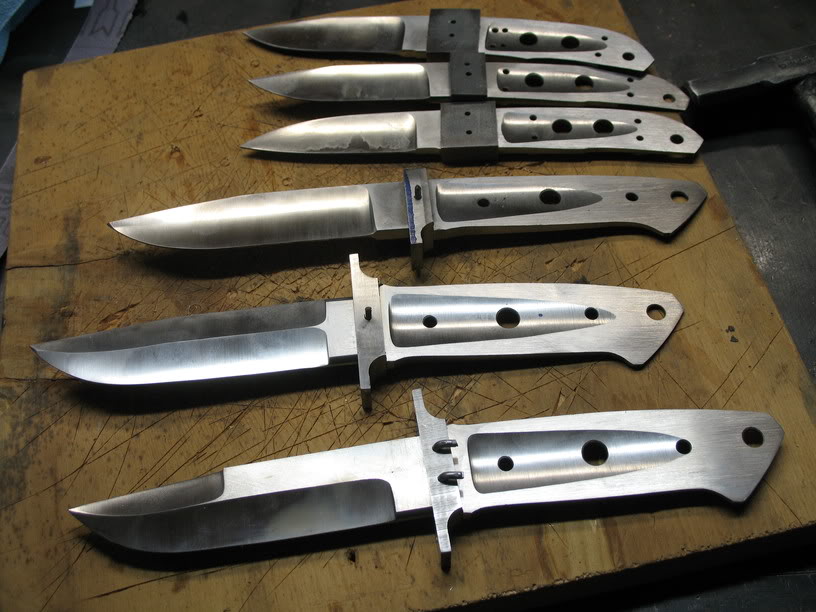
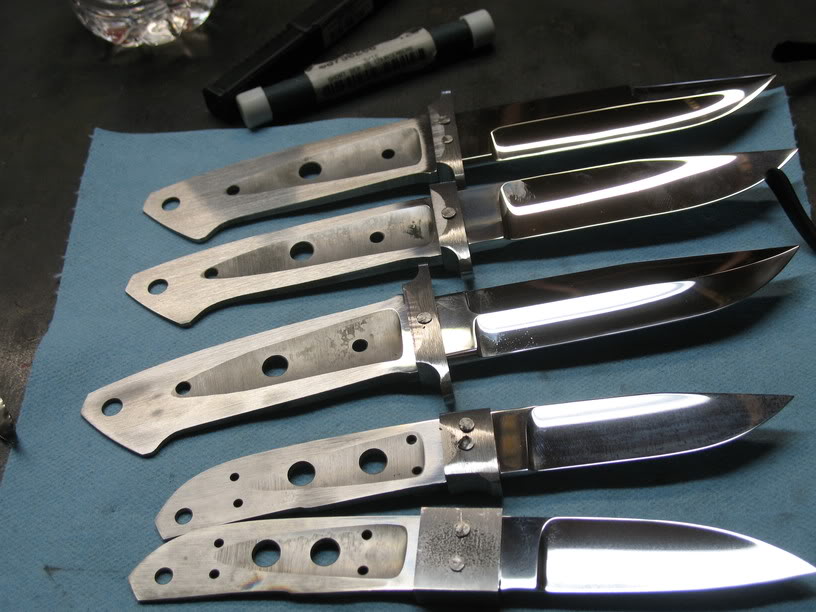
I forgot to mention that the 5 knives are the following models:
Chute
Mini-Wilderness
4.5" Utility Hunter
Traditional Stiff Horn
Two different Utility bladed Stiff Horns. I have a number of odd ball patterns that show the evolution of some of the Loveless patterns. The larger knives are CPM154 and the smaller 154CM.
Getting rid of the mill scale; easier on the belt supply. Also a flat blade blade is easier to mark for edge thickness and grind height.
Nothing fancy a granite surface plate and a height gauge to mark the edge thickness.
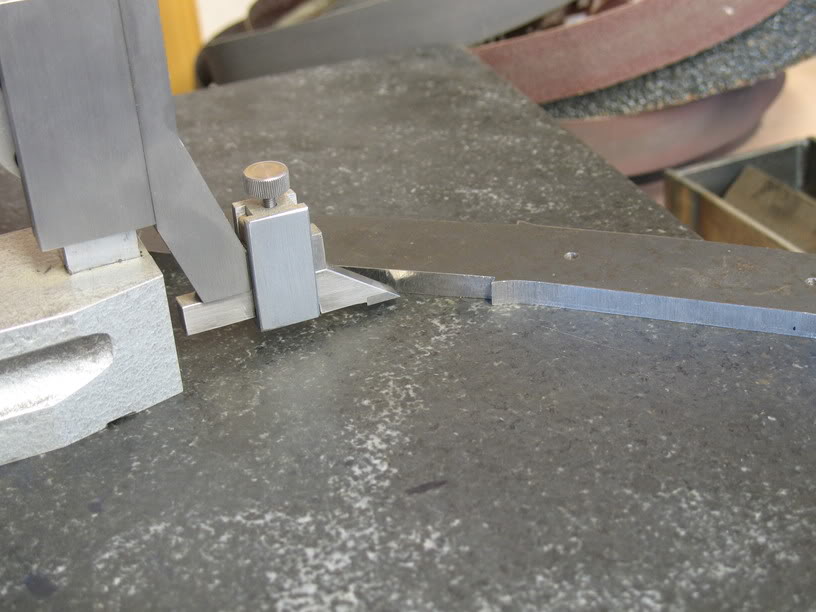
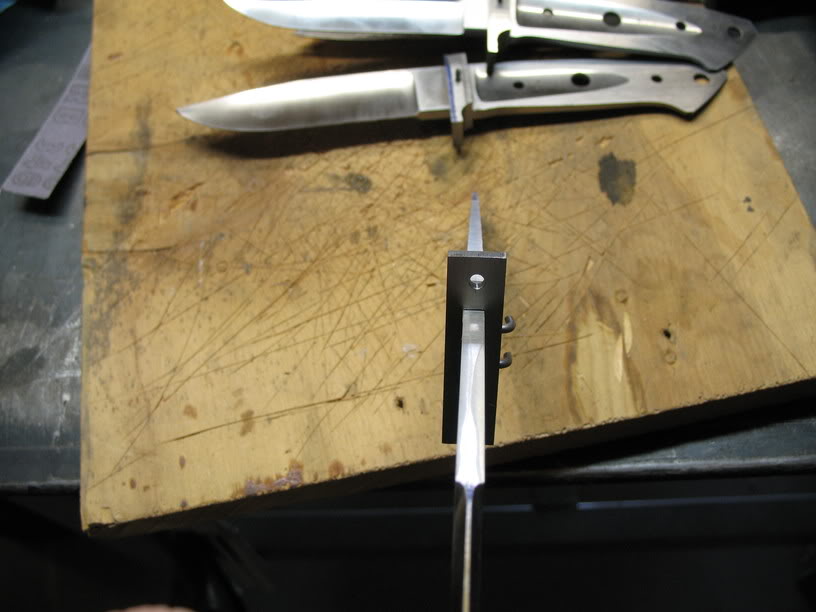
A Loveless/Merritt grind height gauge.
In use. This simple gauge eliminates the need to get a blade plumb to a height gauge or the possibility of your calipers being cocked and having the two sides different. In other words mirrored scribe heights.
The Chute and Mini-Wilderness with the grind height scribed, hunter with only the edge scribed. It should go without saying that the grind height gauge only applies to fighters.
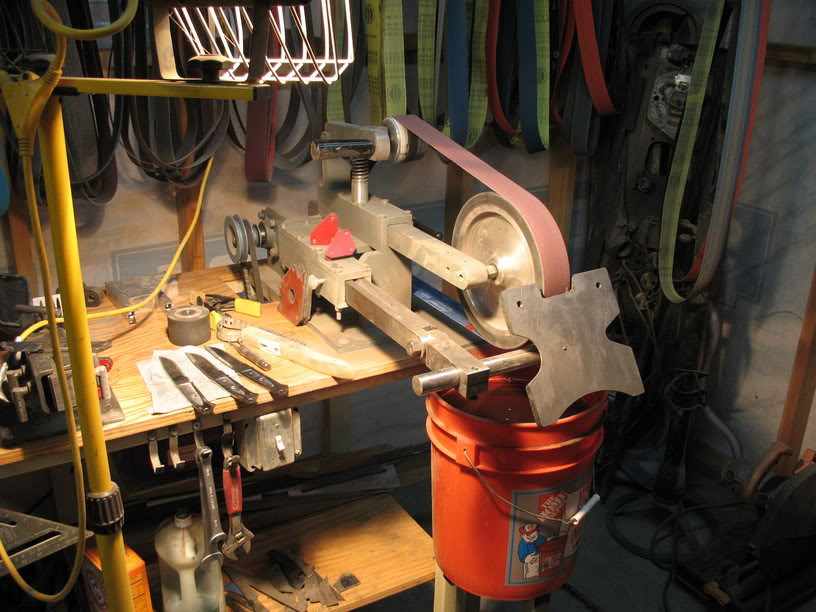
Most of you have seen a grinder; here is mine set up for the lead in grind. It was freezing so I turned on the only source of heat in the shop, 500 watt construction lights.
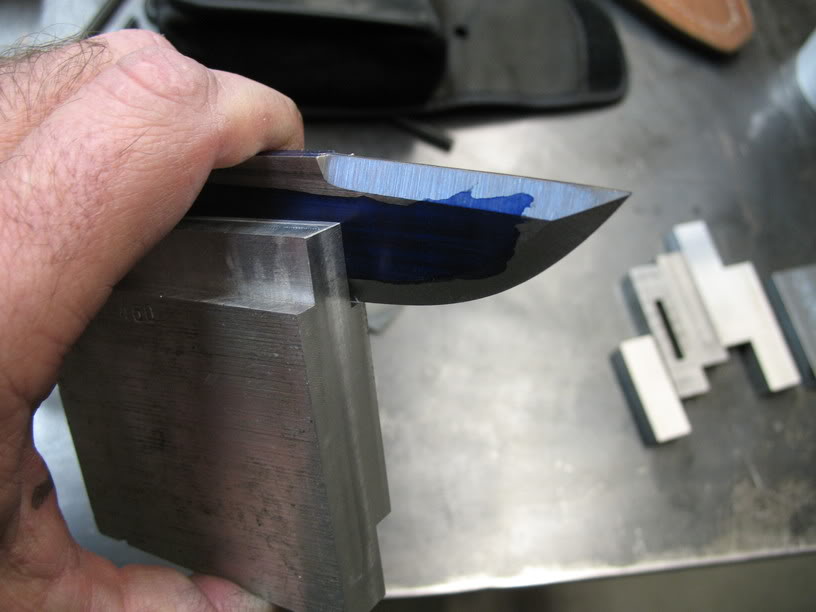
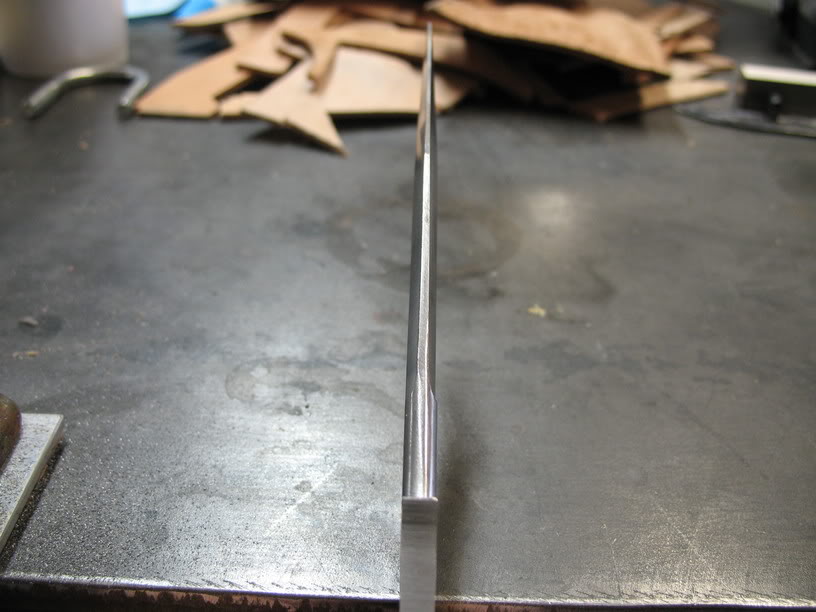
I am very particular when it comes to the lead in grind. I find that if I am not precise at this step my plunges and edge thickness never catch up.
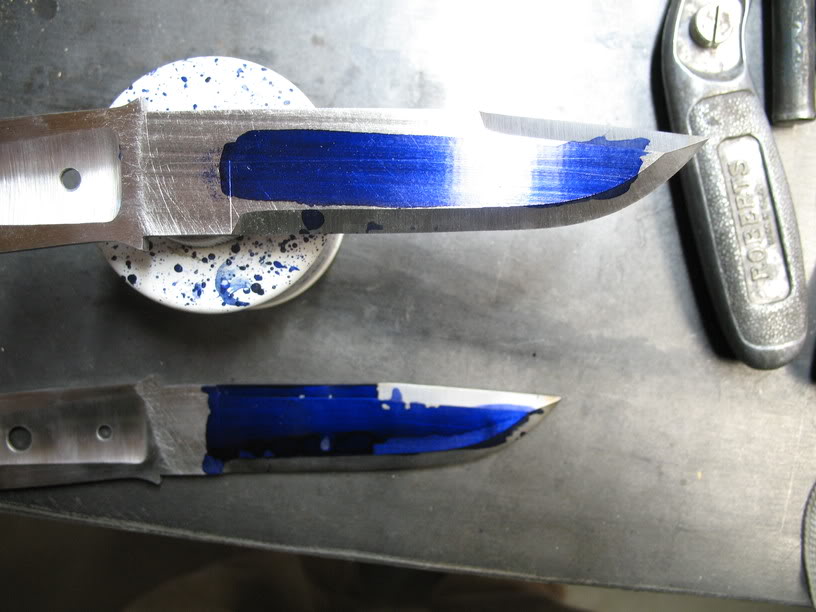
You'll notice in the previous picture all the machine blue is gone. It wore off while doing the lead in, this is where the simple grind height gauge comes in handy; re-blue, re-scribe and grind away.

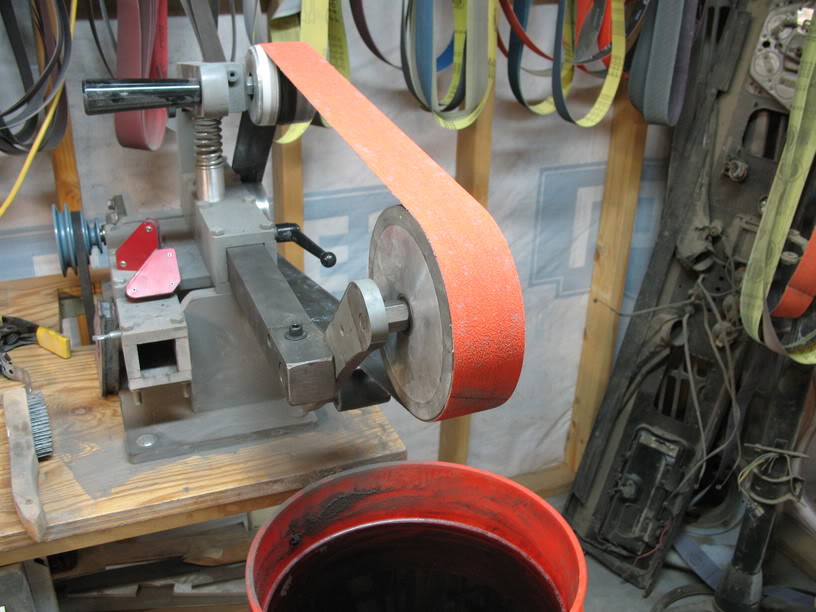
With these knives I used both the 10" and 6" wheels. The 10" is a bit low but the 6" might be okay if I did my grinding on my knees. I use a multi-platen; this allows me to pivot the smaller wheels to a more comfortable height.
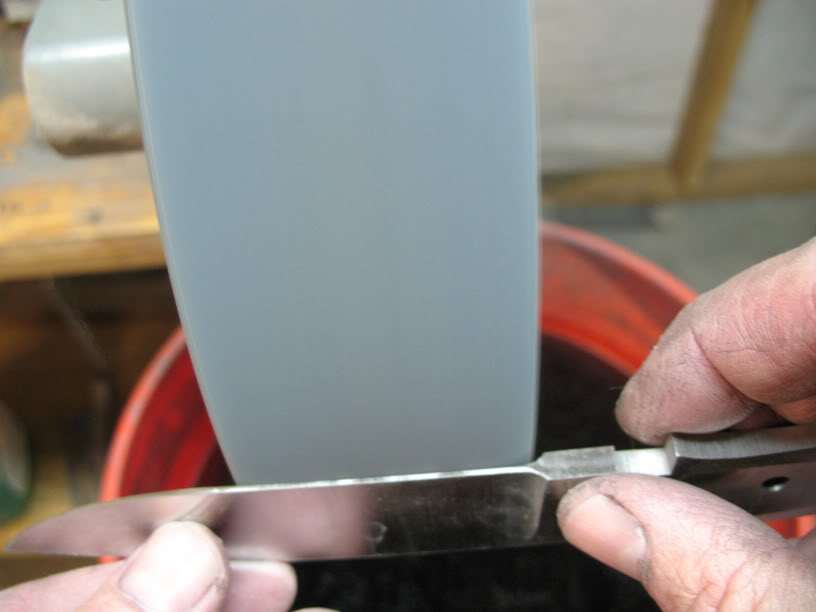
You can just barely see how the corners of my wheels are radiused. I can still grind a straight edge, but if you grind any type of curve it does not have a tendency to "dig" in almost eliminating 2" marks in my case and allowing for killer plunges.
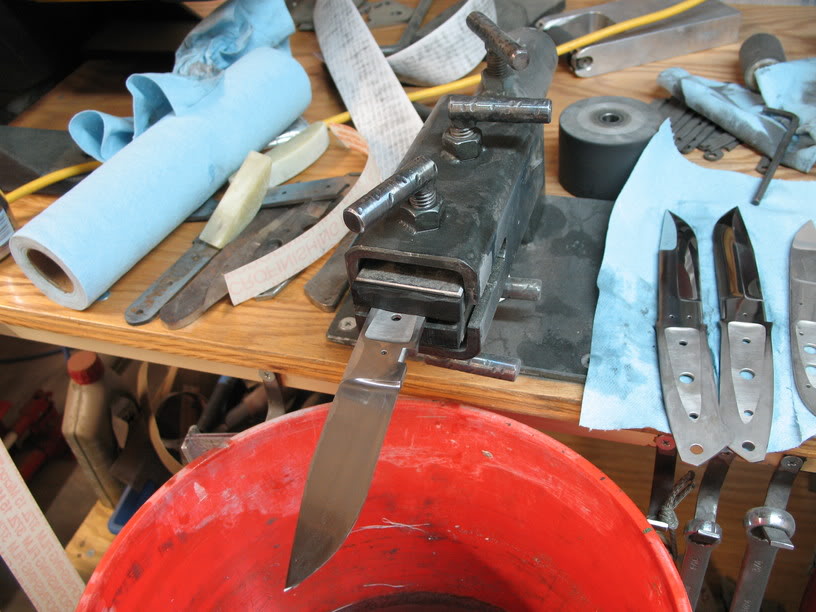
I grind entirely free hand. My first four knives were done with a blade holding device and work rest. I believe it hamstrung me. I also like the idea that I could go to anybody's shop and grind; I am not limited to my shop and fixtures and jigs. This picture is a bit past rough grinding but I wanted to get the picture in. I was fighting with how to get action shots; I think I failed.
Rough grind at 60 grit
And 220. I don't subscribe to the theory of cleaning up after HT. My grinds are as close to 100% as I can get pre-HT. In my very limited experience there is nothing worse than trying to work a grind line higher or a even up plunges on hard steel. I think this is when most of the "accidents" happen (rolling a plunge up into the ricasso or going too far and breaking the spine, etc...).
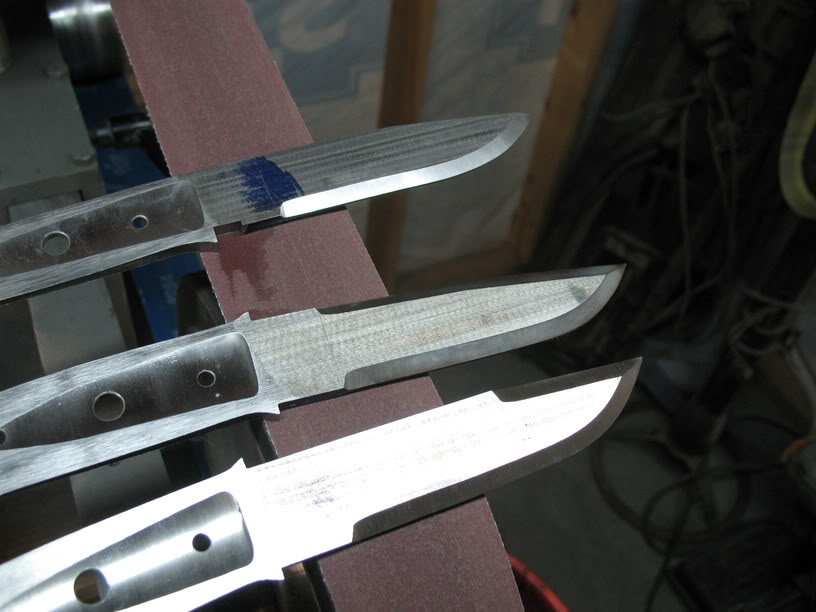
So we left off with the "rough" grinds. I take my blades to 400 pre-HT and then start back at 220 after.
Loveless hunters have a square spine and bottom of the ricasso. The next few pictures really only apply to fighters; most of the time.:D
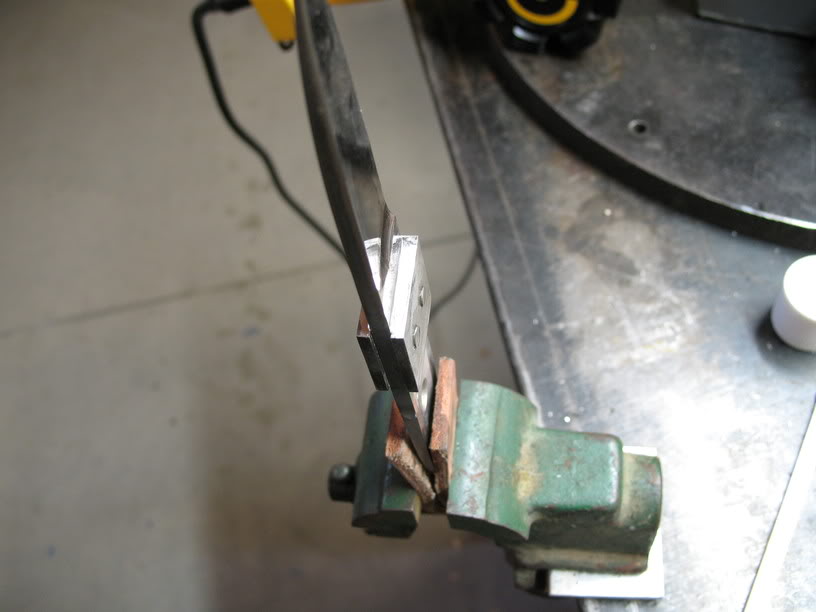
So the Chute is clamped ready to round (don't make fun of the size of my vise). I have 5 different vises and I can't get comfortable doing small/detail work on the larger ones.
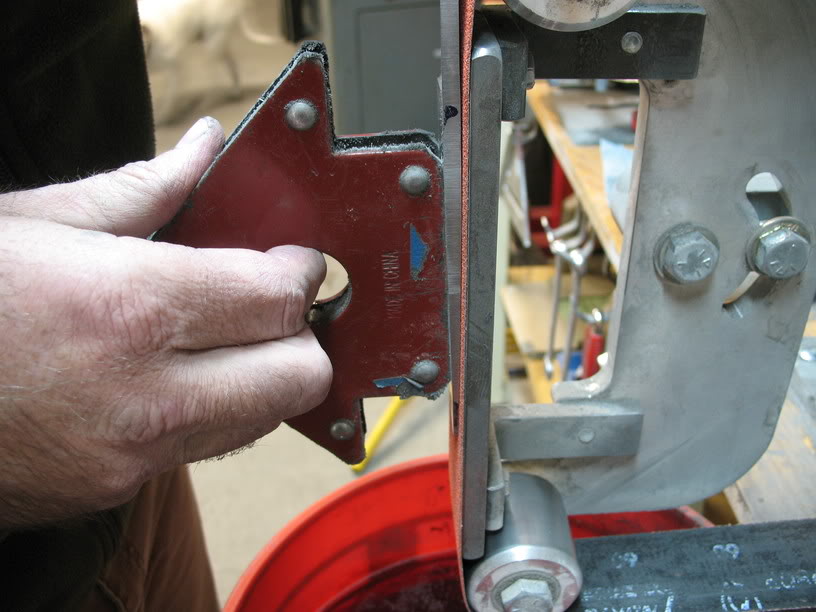
I use a file with a safe edge to file against the shoulders.
And check for perfection.
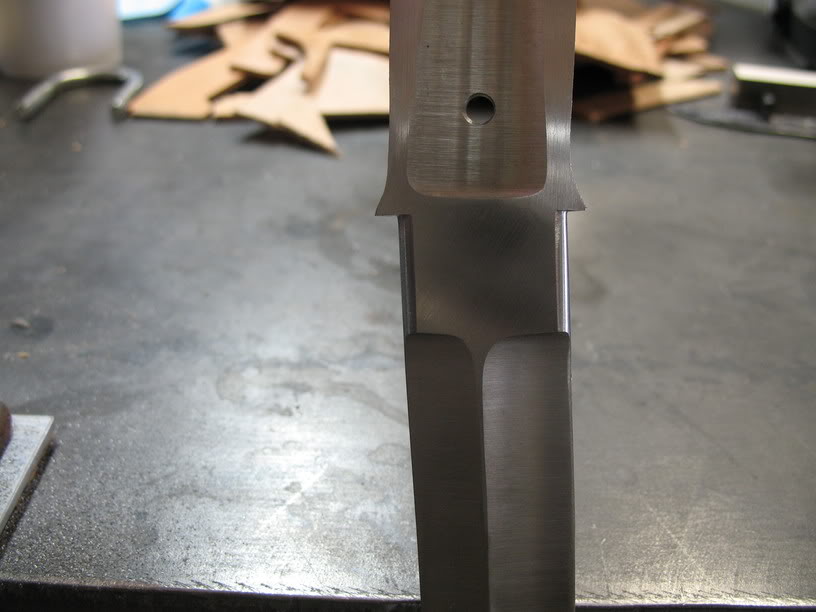
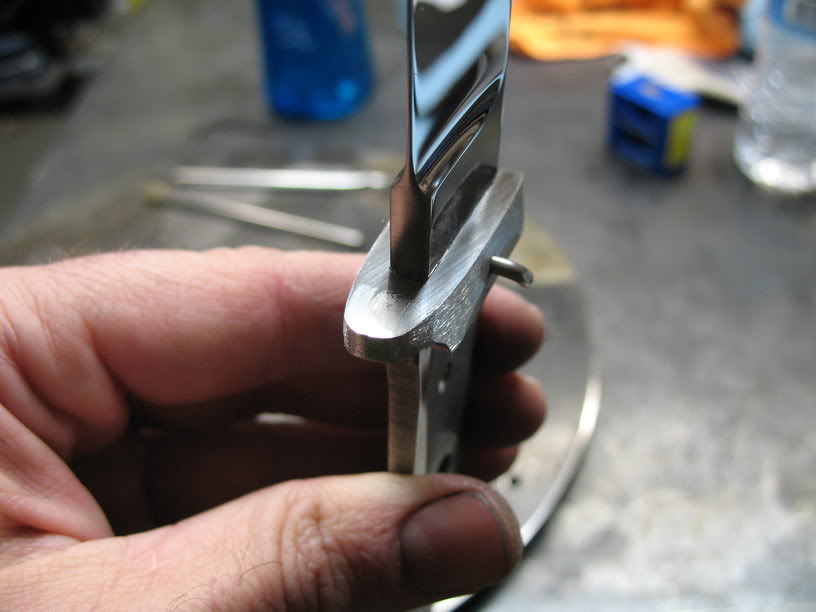
The Mini-Wilderness with the top and bottom of the ricasso rounded.
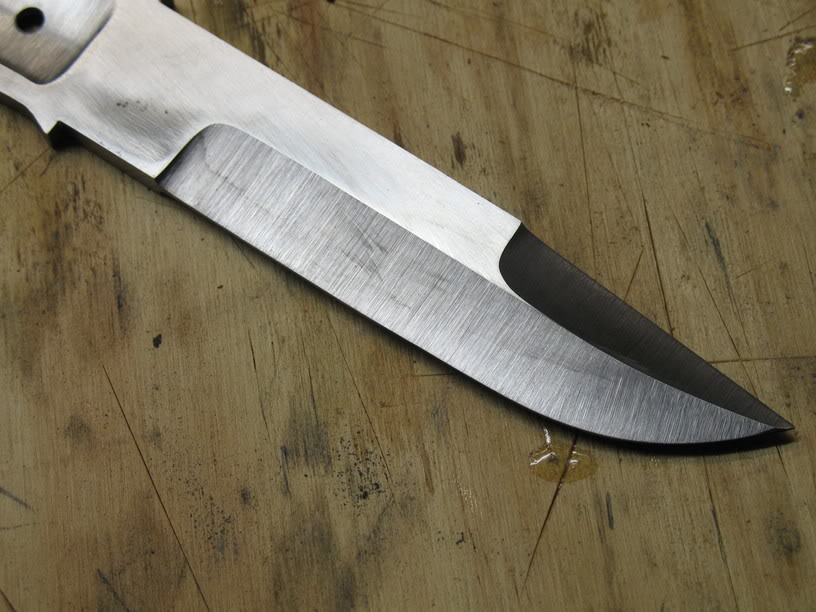
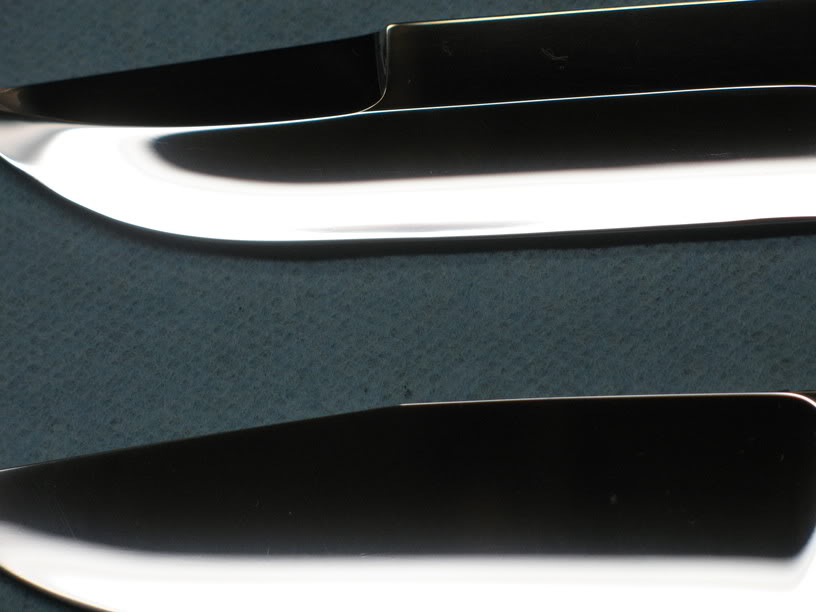
One of the crowning moments of my career so far. Fighters only have the clip sharpened. So to add strength and character there is a nice taper from the top plunges to the break in the spine. Not the easiest and looks killer on the finished knife.
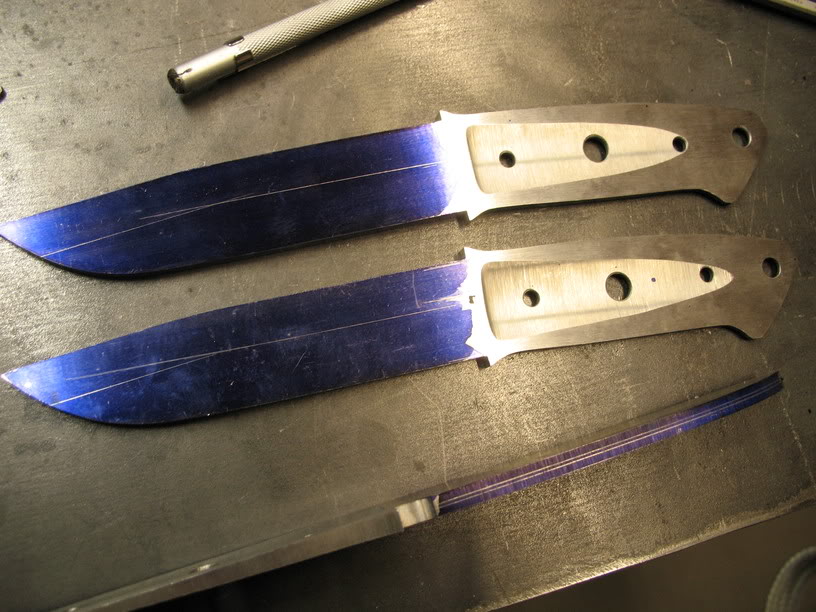
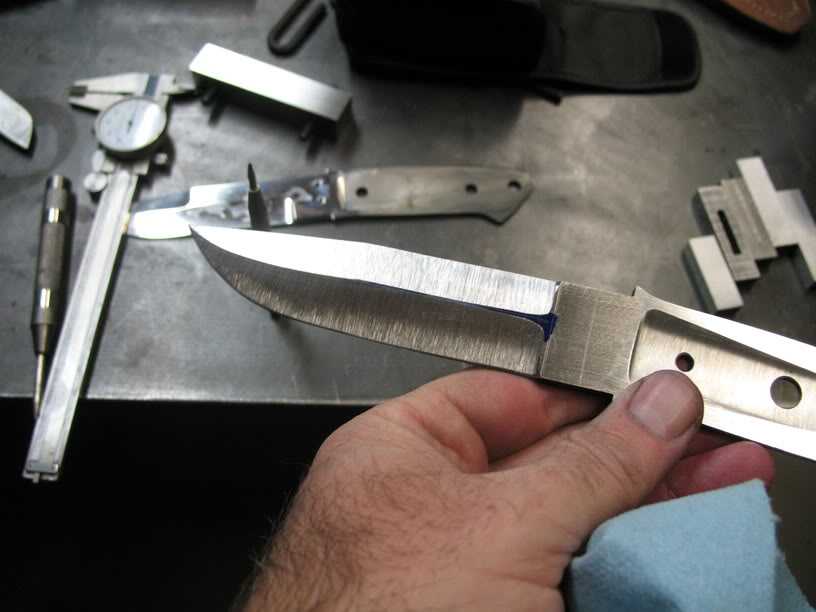
The line-up ready for guards. All ground to 400 on the bevels. Flats are out to 800.
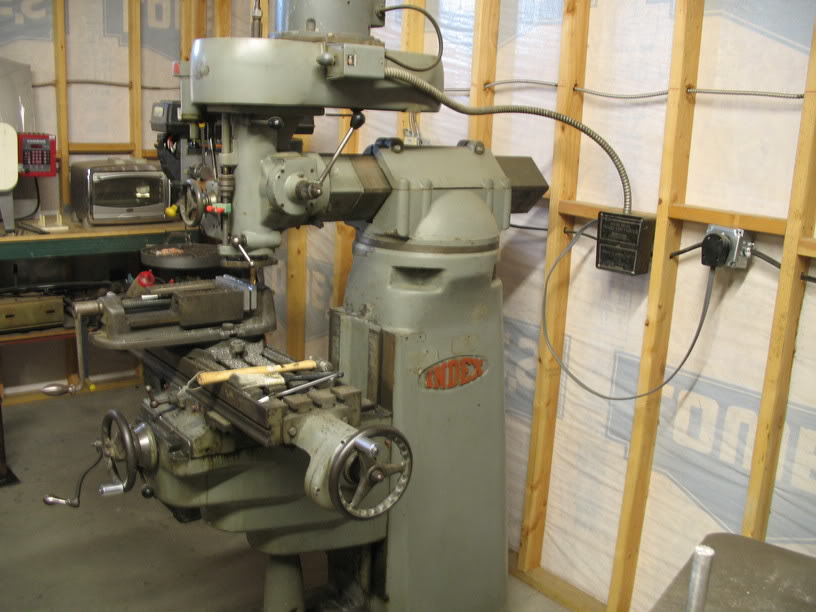
Another one of my finds. A manual Index brand mill. This company is still in business and still made in the USA. They still have records on when mine left the factory and who it went to. I hope eventually to restore it; most of the parts are still available. Just as encouragement, shop around. My mill, vertical band-saw, and surface grinder cost a total of $1950. You will see how accurate the mill and I are in a moment.
Milling some 416 for the Utility, Chute and Mini-Wilderness to nominal size. I am able to get 416 for the Stiff Horns close enough.
Surface grinding to final dimension.
Cut to size. (that's just a fancy push stick to the right; safety first)
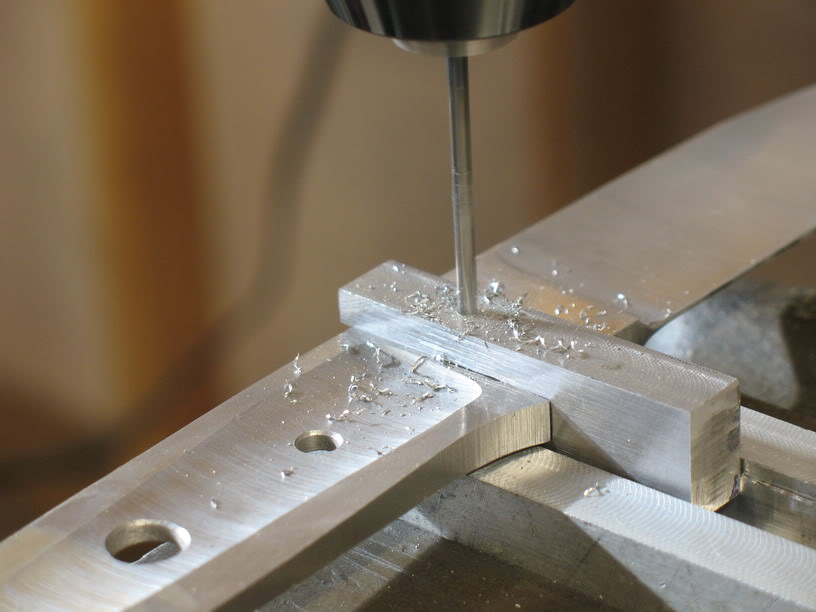
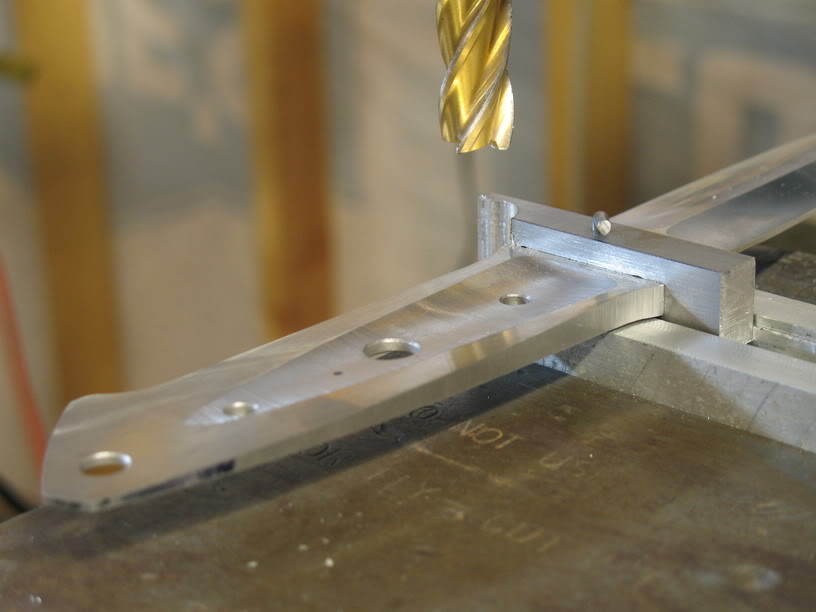
I hate parallels, so I made a pair of aluminum jaws with two steps milled in for different stock thickness. Here milling the guard for the Utility.
Finished.
So a little more milling of a fighter guard:
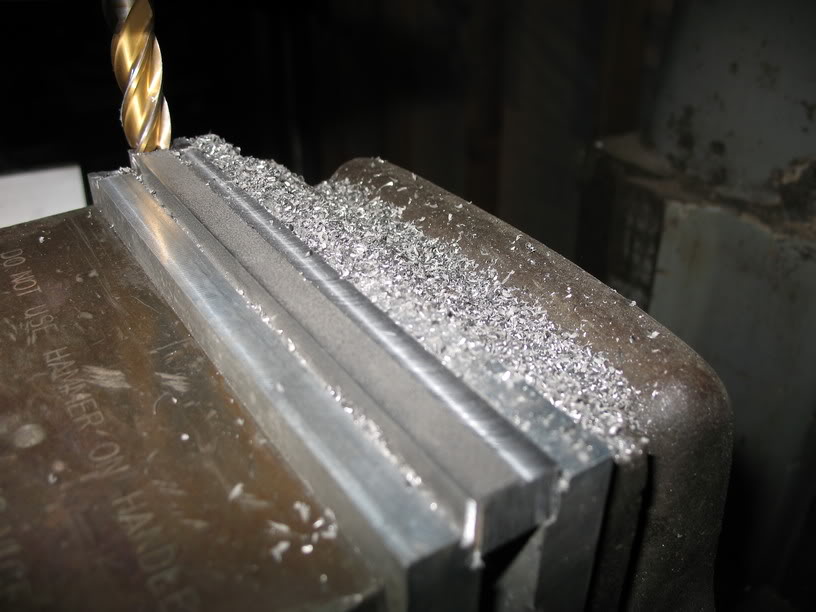
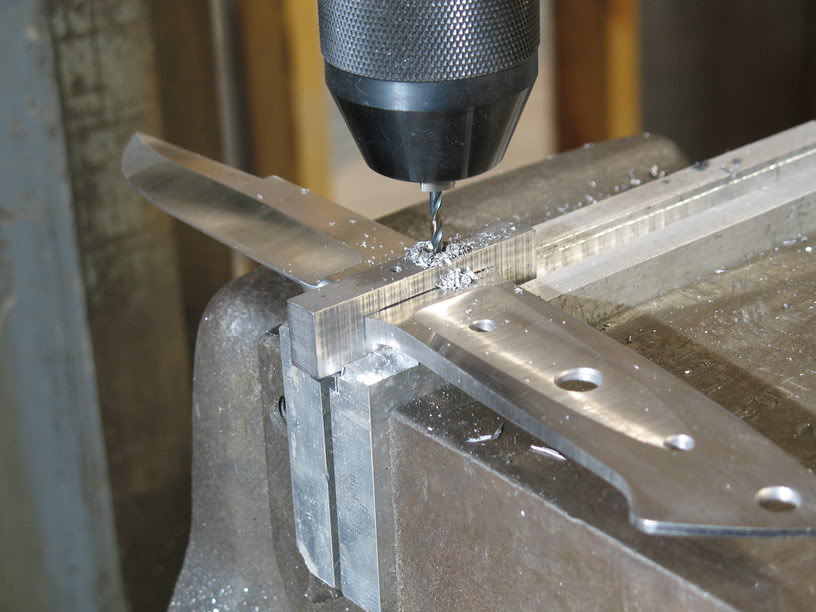
With the size of these mills (a bit fragile) I drill a series of holes to remove some of the material and then connect the dots.
To bad you pay for everything not just what you use!
I guess they fit okay? :D These are straight from the mill, 0 file/hand work.
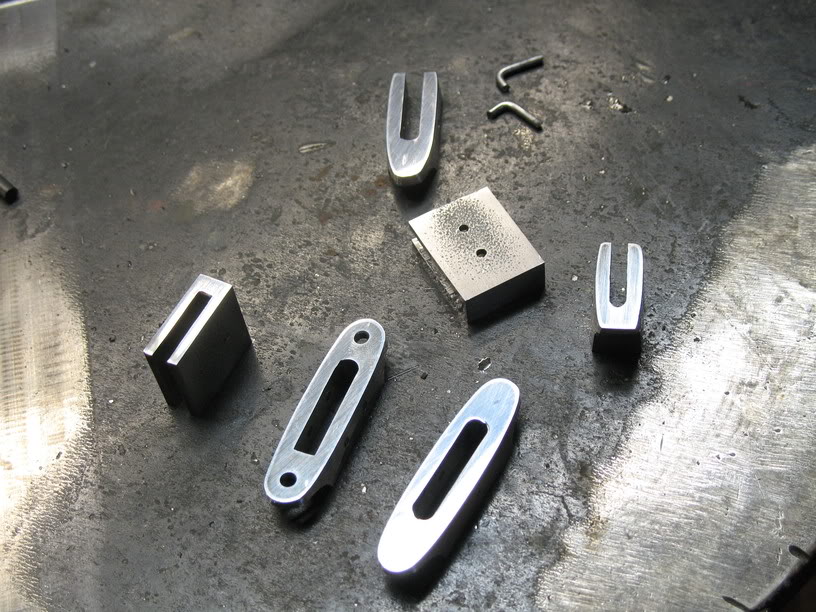
Guards fitted.
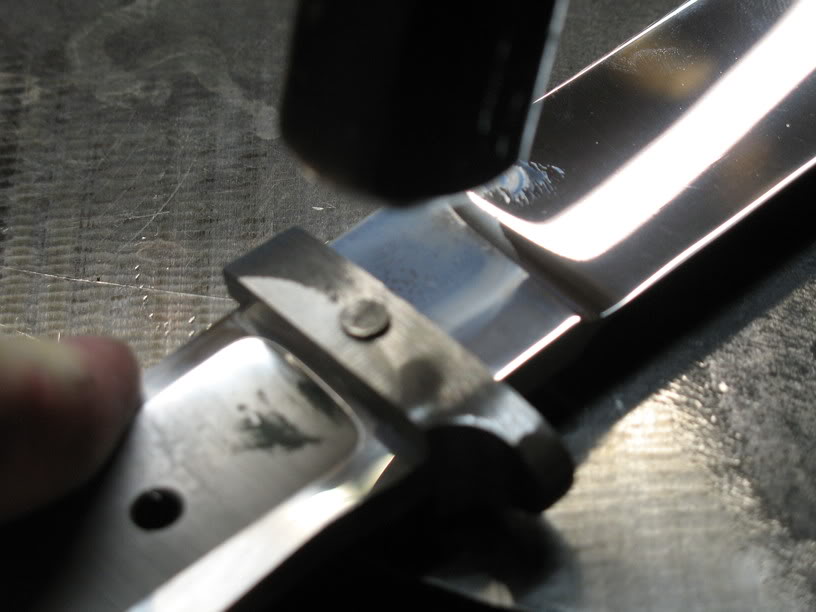
Drilling for pins. Notice the guards just look like chunks of steel:
Pre-HT rough guard shaping.
If I have done it correctly I can remove most of the soon to be waste material and take a bit off of the guard shoulders and create a seamless fit (the reason it is done pre-HT).
Guards fitted, pin holes drilled, and I had to go do one more thing:
I collect chute knives; I had to go ol' skool and put lanyard holes in the Chute's guard.
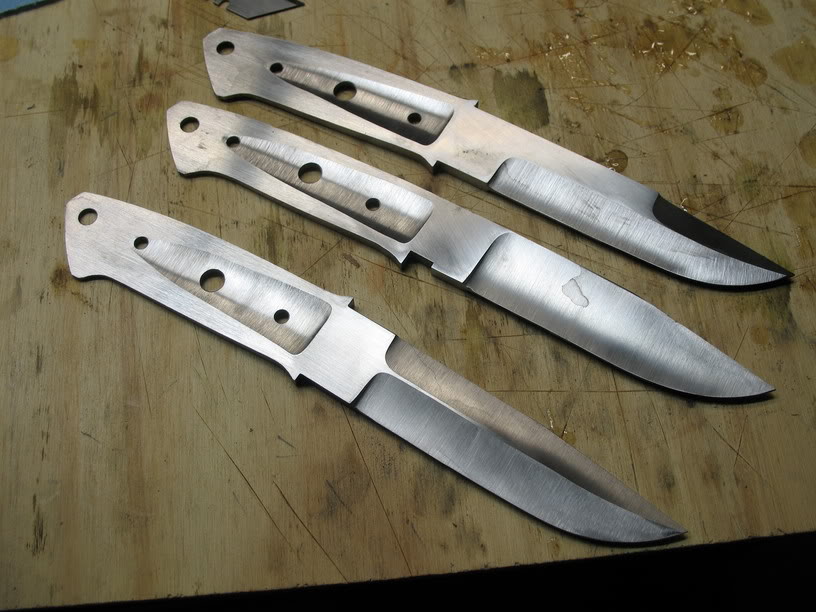
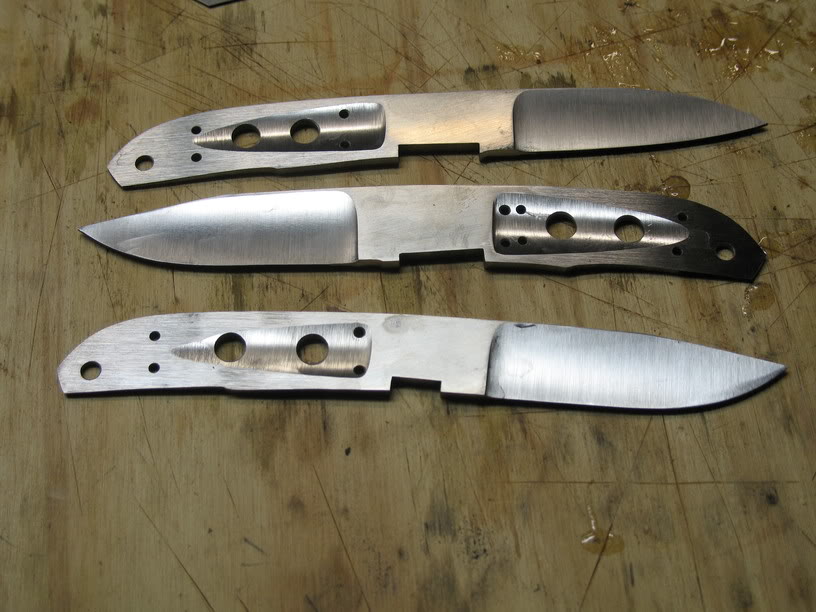
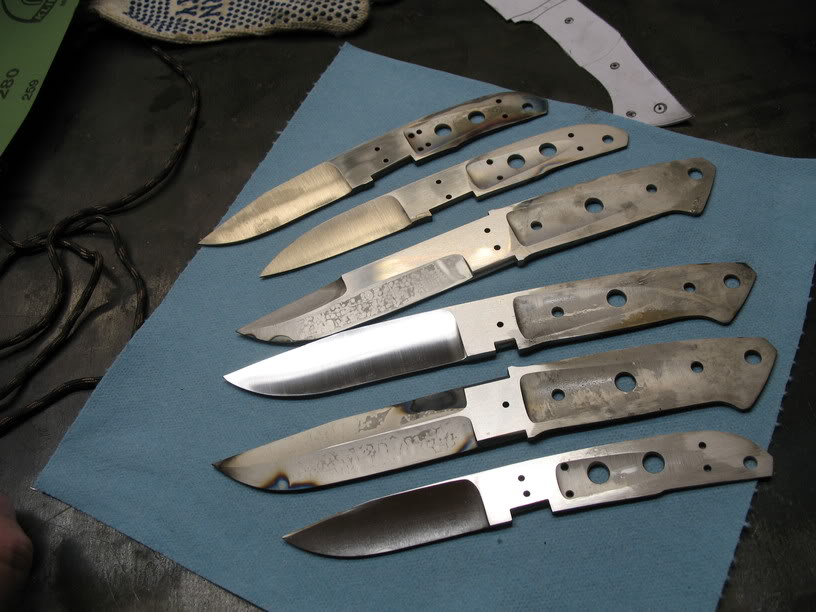
A pile of blades:
Ready for HT
It's a bit difficult to document the HT process with only two hands so I will just show before and after.
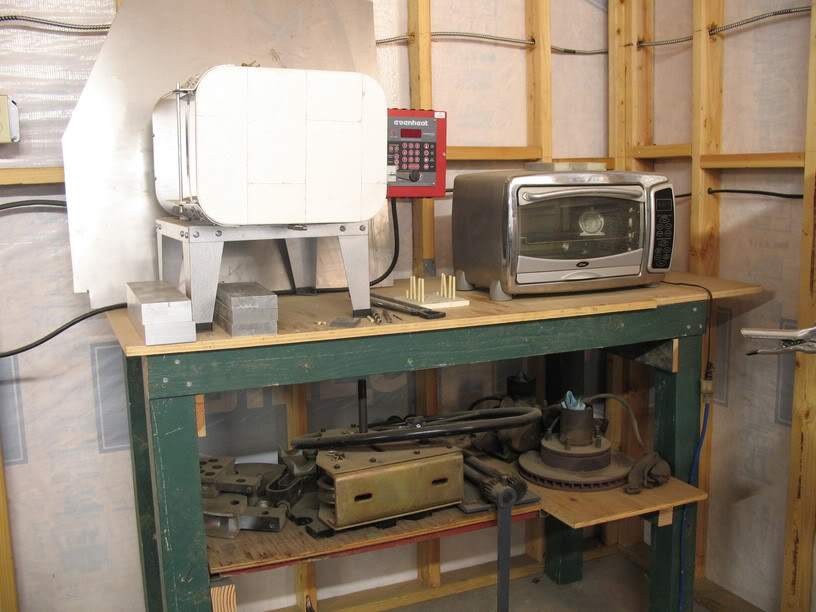
My HT corner
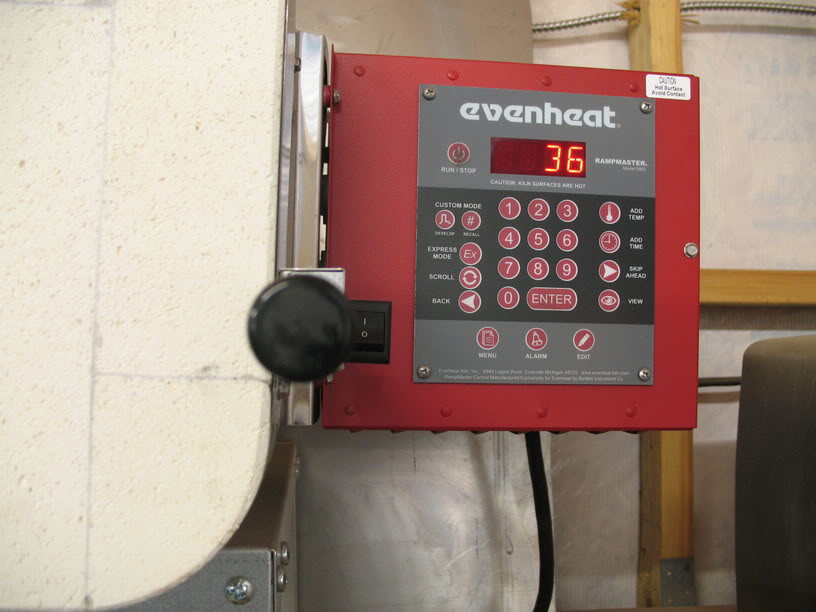
To prove it gets cool in Calif. This was the temp in the oven before I opened the door; a strong argument for pre-heating your oven!
Just to prove they were HTed
It worked!
And the finishing fun begins! Finish grind starts at 200 and progresses through 2000. And then...
some hand sanding. Sometimes the monotonous is the most fun.
My beautifully TIG welded, multi-levered, rotating, knife makers vise (painted '03 PT Cruiser green).
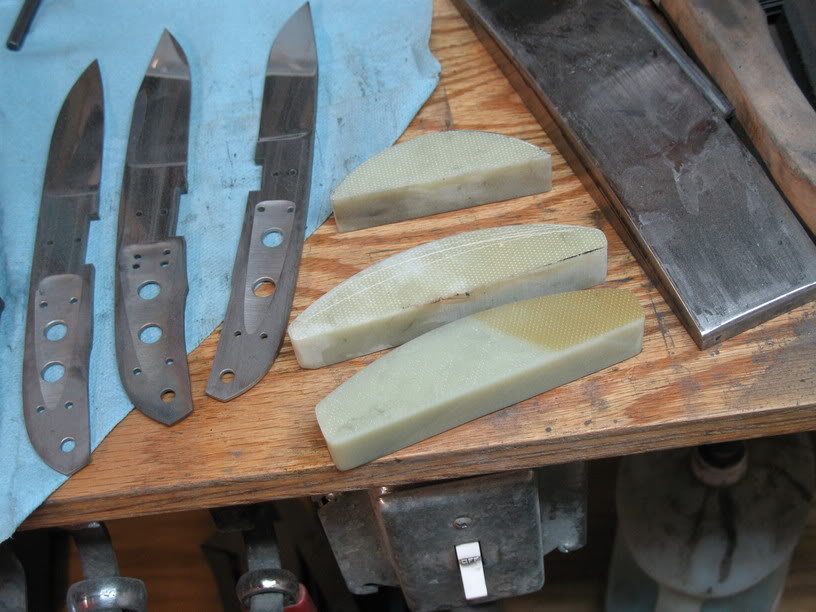
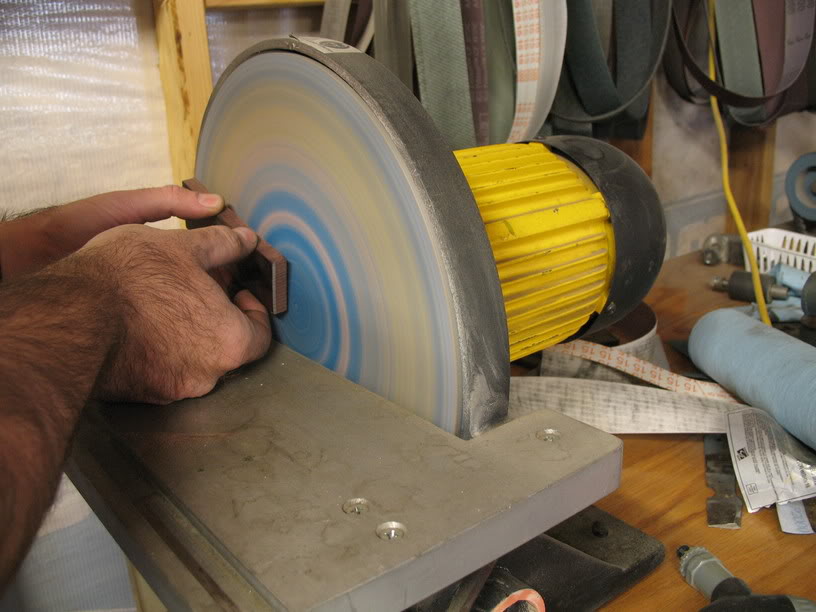
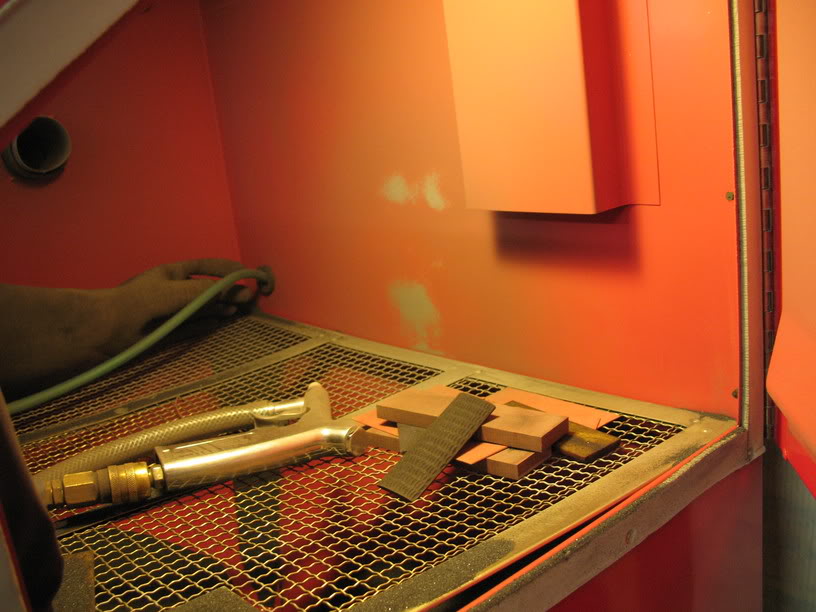
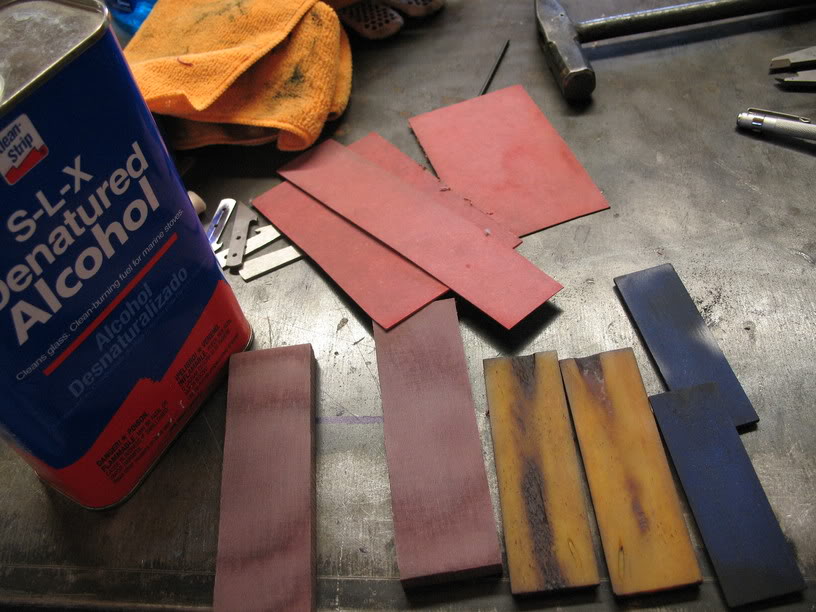
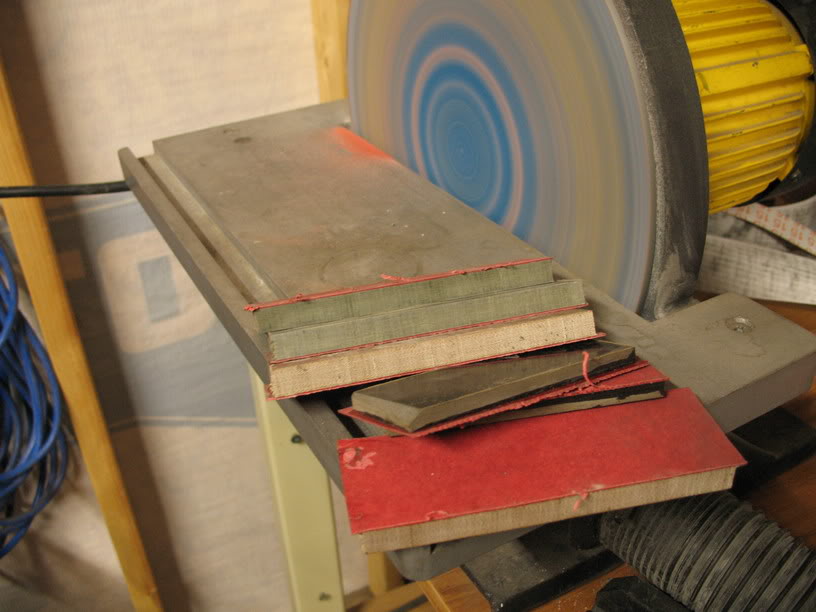
Sanding blocks of G10. I read Tony Bose's hand sanding technique and applied it here. If the blade was ground with a 10" wheel (5" radius)I sand with a 4" radius block. This keeps all the grinds crisp.
Open a can of elbow grease and use plenty of prop wash to lubricate. If the final grind is correct (220-2000 deep scratches gone) I can sand with 15 micron and then 2000 and buff. For me this process minimizes buffer time and buffing away all the hard grind line work. :thumbup:The good news is that this seems harder than it is. :thumbup::thumbup:
Worked pretty well.
The Loveless shop tapers the tang to .050" the larger knives in this thread are using a nominal 3/16" steel. From the mill with scale it is around .210", after grinding and getting rid of the scale the blade sits around .200". I taper the tang from the rear of the guard to the butt going from .200 to .060" at the butt.
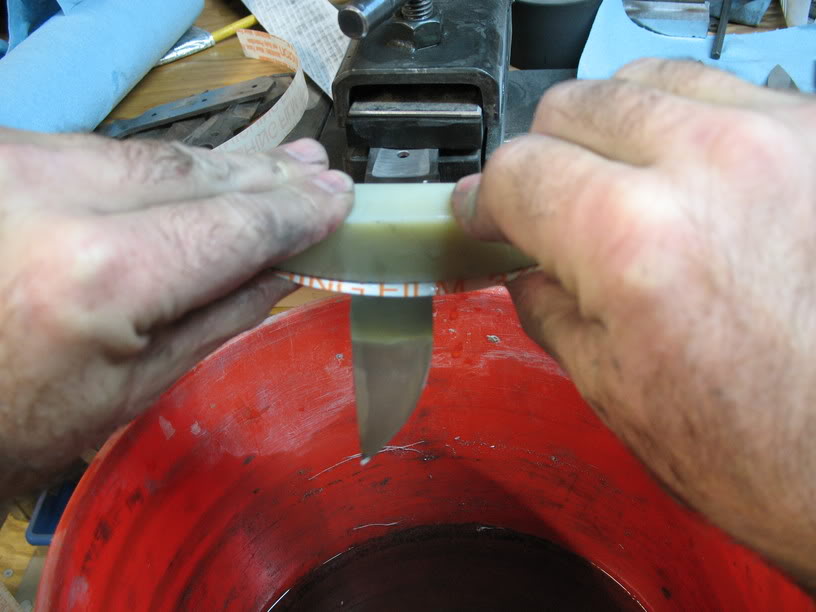
I start tapering the tang at the butt of the knife. I go through the same process as marking the edge; scribe two lines .050" apart on the butt of the handle. I then use the exact same method as on the blade; I create a precise lead in grind to the desired thickness. Then it is just a matter of working that smaller bevel back towards the guard (just like flat grinding a blade).
Getting to the end of this adventure.
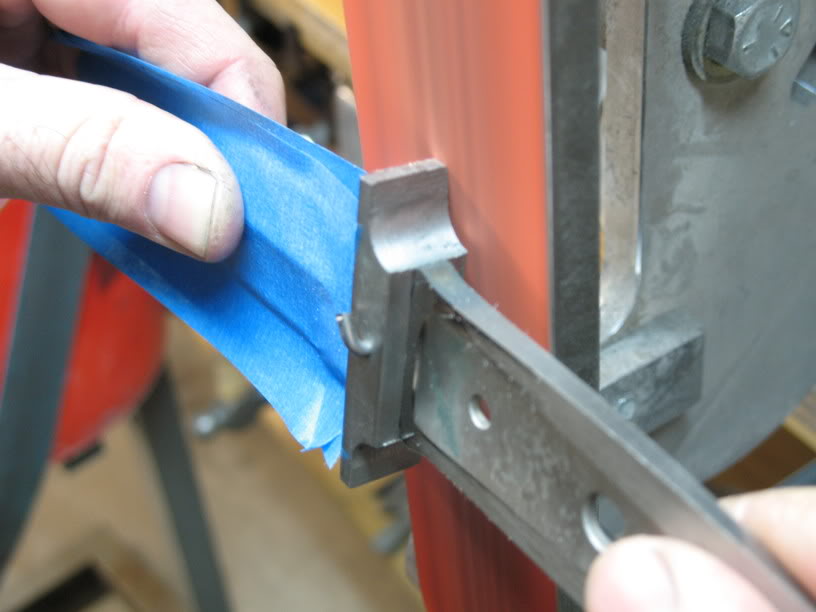
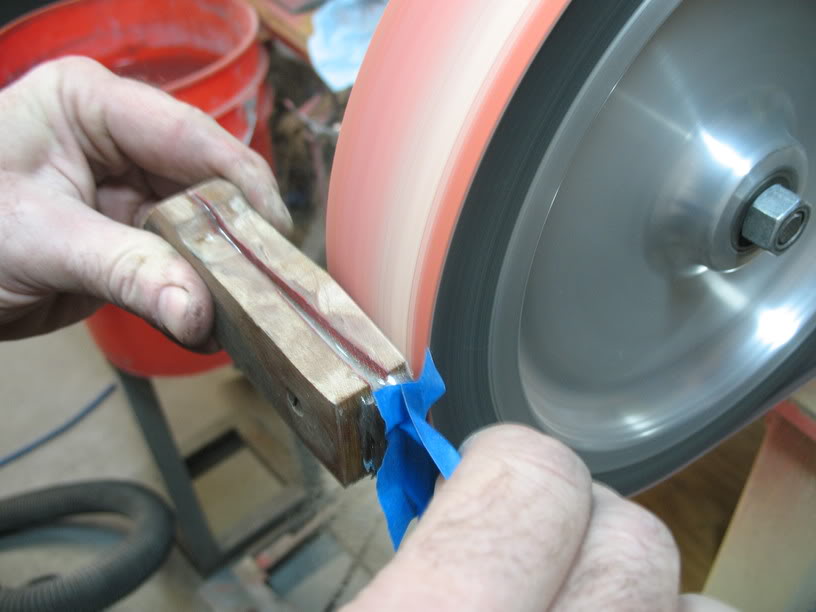
After polishing it is time to attach the guards (pin and solder). Prior to doing that though I use temporary pins and rough shape the guards.
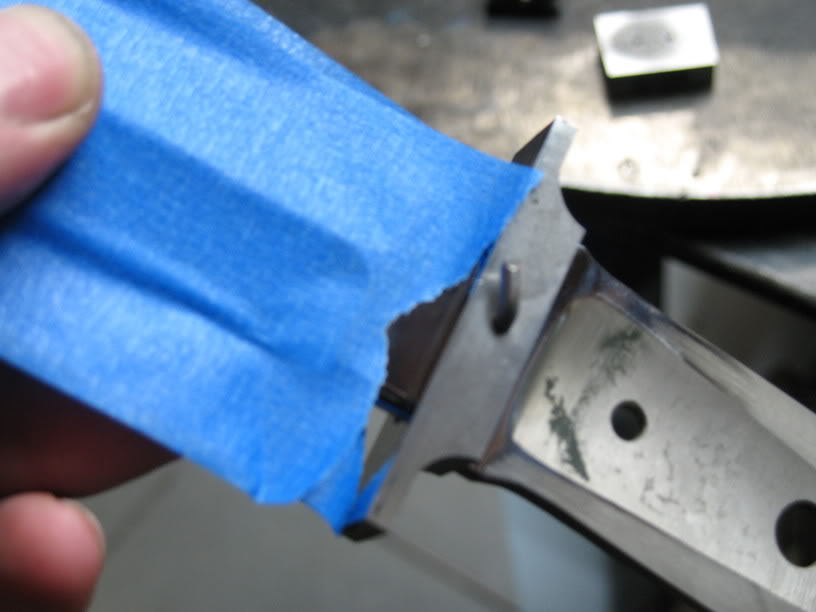
Plenty of blue tape to protect my investment of time in the polished blade. Pre-shaping the guard allows you to more successfully hide the pins. Instead of peening or pressing or both into stainless that is going to be ground away you are peening very close to the finished level. This usually insures an invisible pin.
Grinding
A close to finished dimension guard.
6 guards ready to attach, all sanded out to 15 micron ;close to 1000 grit. Prior to affixing the guards I clean everything thoroughly with Duplicolor wax remover and alcohol so that I don't end up with an surprises when I solder.
My peening surface, ( I would eventually like to own a nice post anvil for different beating jobs) a 4x4 steel leg supporting 3/8" steel top with an additional 3/4" plate on top of that; works pretty well. I have so far been successful without a pin press so I will probably continue with this method.
Peening and peening...
and done. On to soldering.
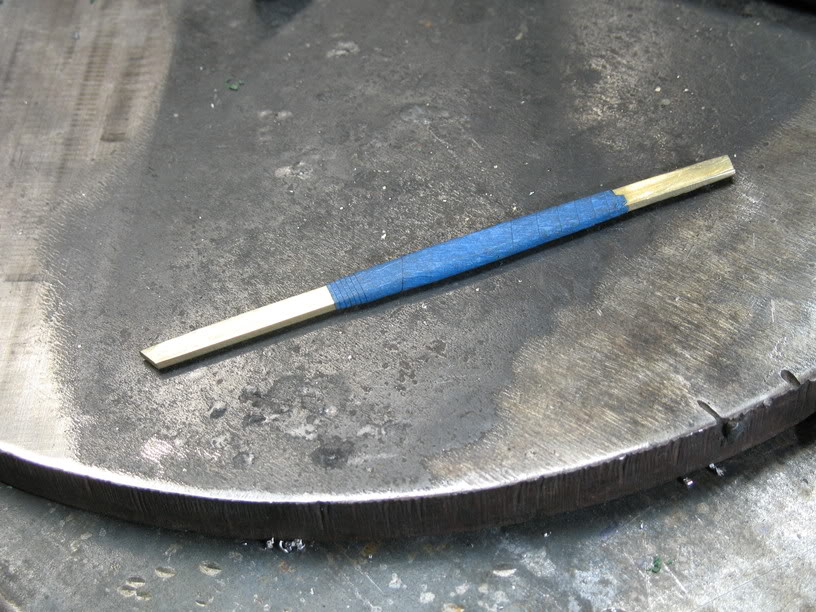
Being new and still anxious about some processes I didn't get many action shots of this, also for what ever reason my camera refused to focus on this part. So just a few to move us further along. I use a piece of rectangular brass stock as a graver. I round both top and bottom to give a nice concave fillet.
Set-up in my mini vise and ready for solder. I use the same process detailed in the SRJ sub-hilt DVD.

Post solder clean-up aided by my...
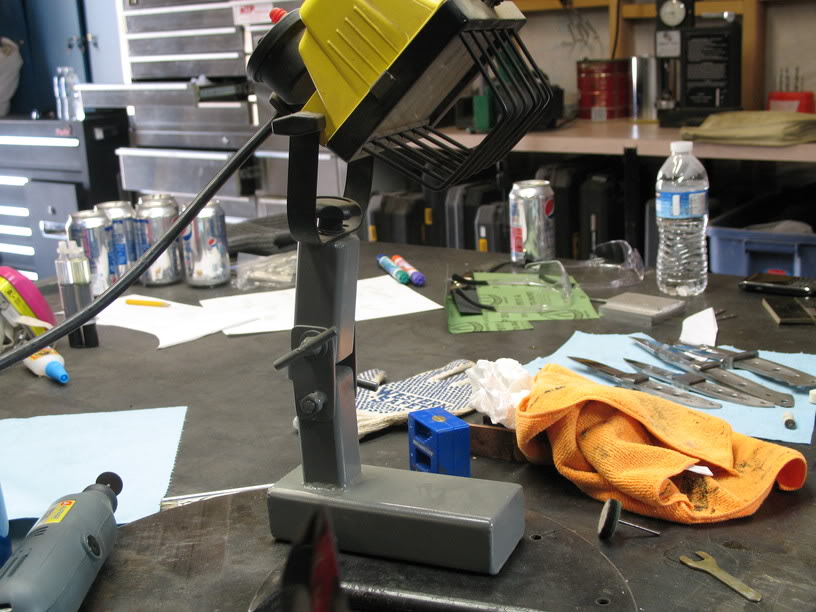
custom TIG welded desk lamp. After I am happy with the solder joint I move on to handle material.
Flatten all of the handle material.
Blast both liner and handle material, and then...
wipe down with alcohol...

glue...
clamp...
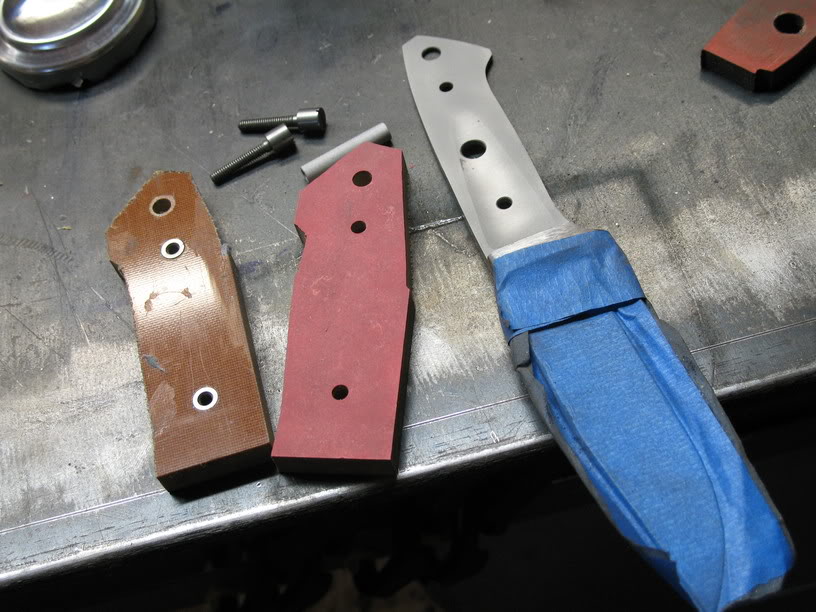
and then clean-up of the pre-glued liner and handle material. This may seem like a lot of work but I do this process in the evenings because the day job won't allow much more and it is still forward progress! As you can see mostly Micarta.
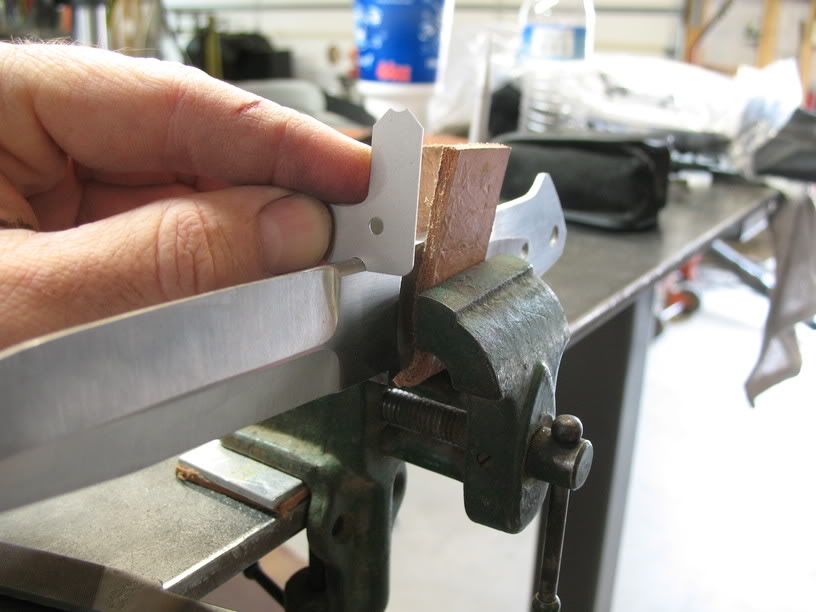
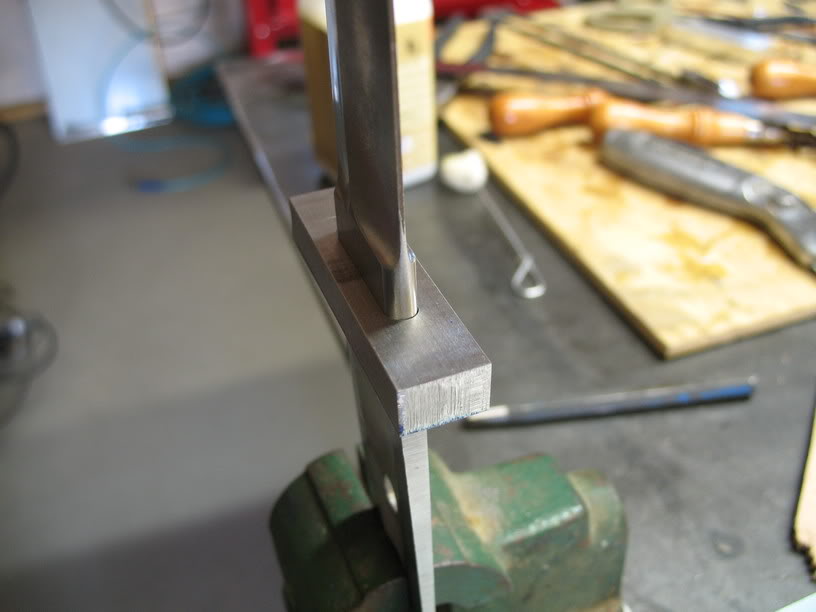
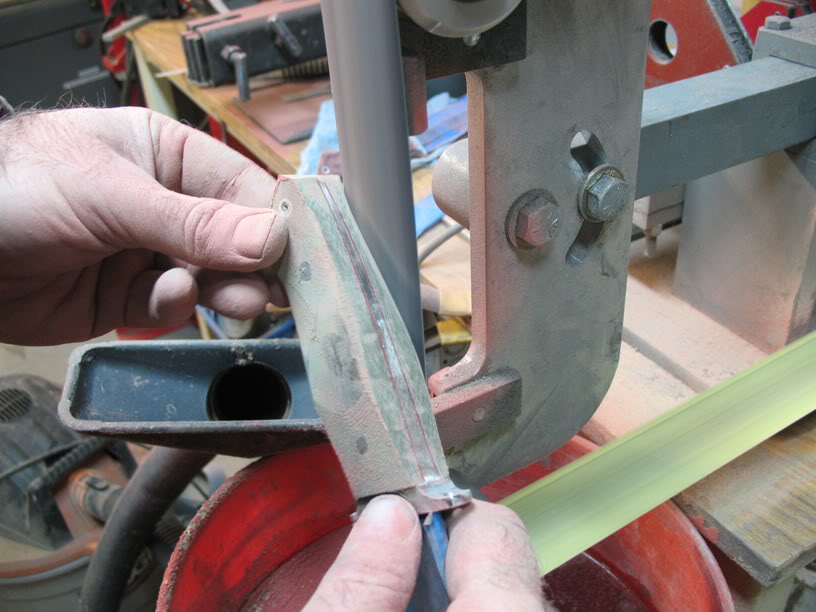
So I got all the handle material glued up and ground an angle in the handle material so that the handle material meets the guard correctly. Now the issue lies with getting an angled hole drilled through the handle material when the tang hole is straight.
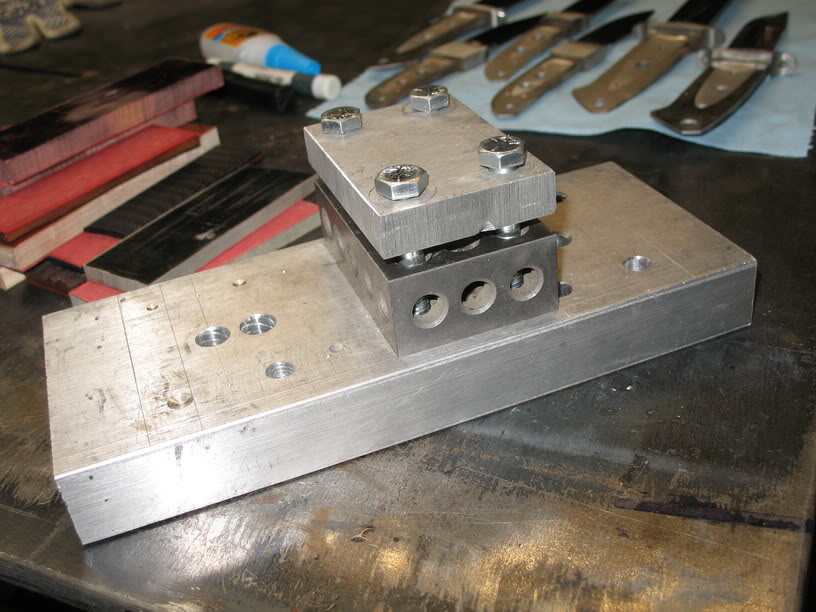
My tapered tang handle drilling fixture. It consists of a 1-2-3 block, a few bolts, and some aluminum.

Clamp the knife by the flat ricasso. If your blade is straight then you should be able to drill straight through the tang hole. I use two drops of glue to hold the handle material to the tang as well as a Micarta wedge to support the handle while drilling. The glue may be an old trick but I will credit Mr. Terzoula; I read about it in his folder making book.
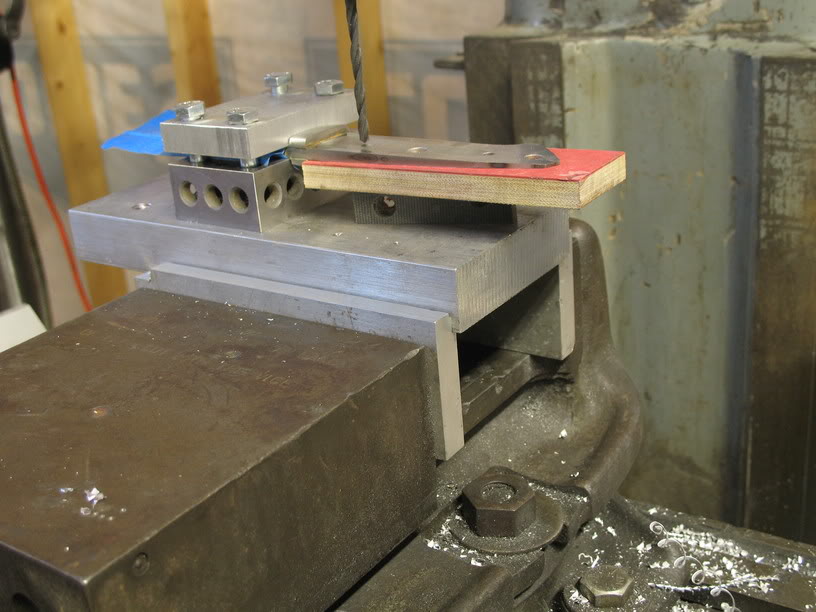
In the mill vise.
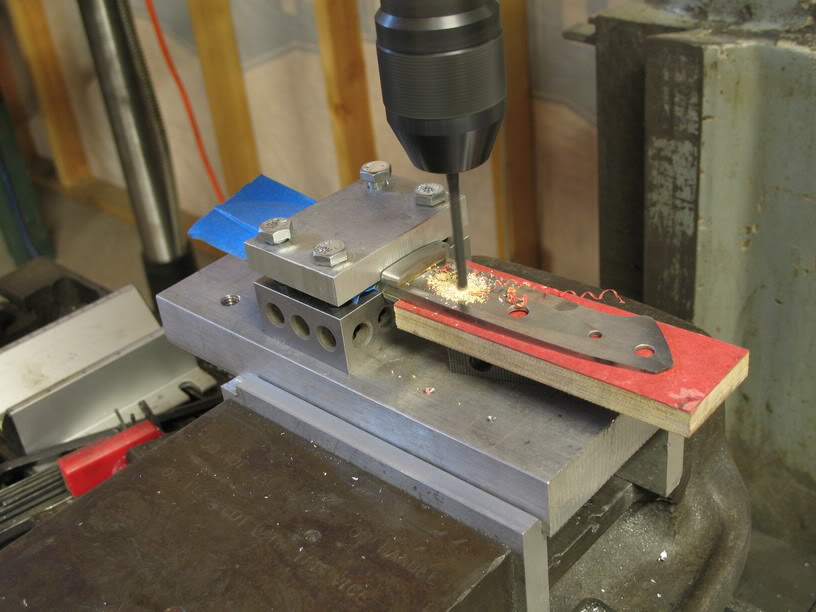
And drilling.
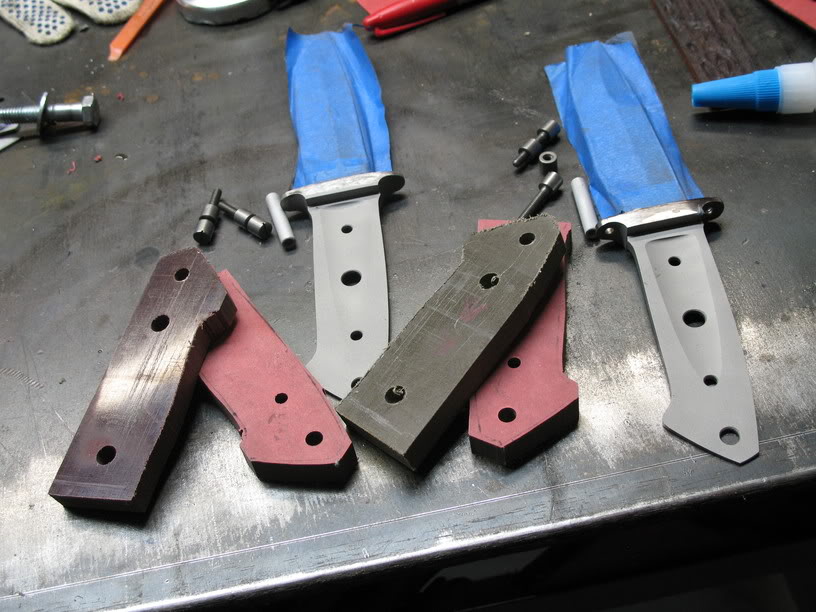
Knife and handle material blasted and ready for glue up.
Glued, bolted and dry. You can see I already started grinding the hardware flush.
Getting rid of the excess and material and starting the handle shaping.
Most of the excess is gone and shaping the front near the guard.
Grinding the handle hollow.
Rough shaped close to slack belt time.
100-15 micron to get to the finished handle.
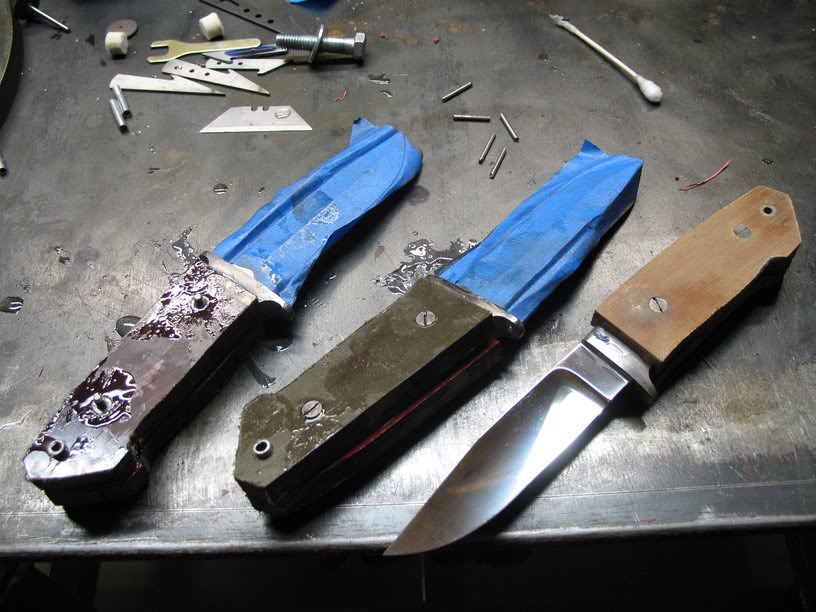
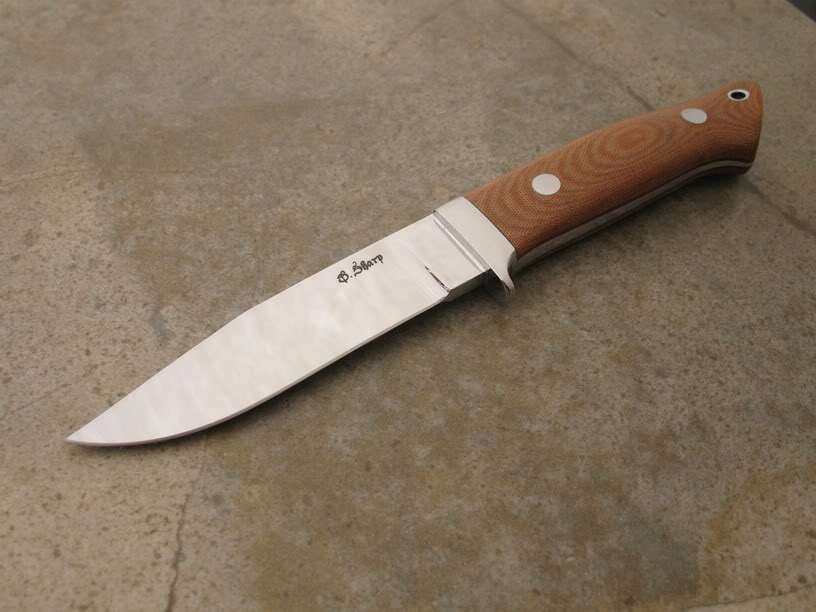
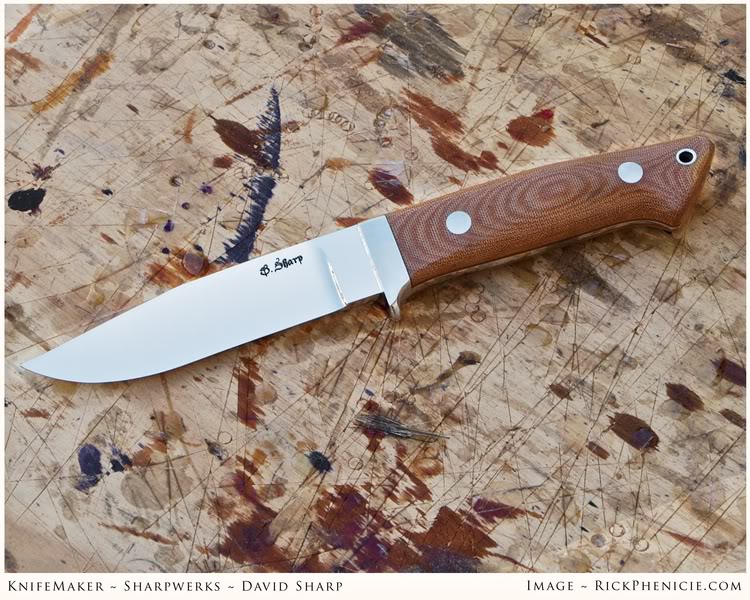
And you end up with this!
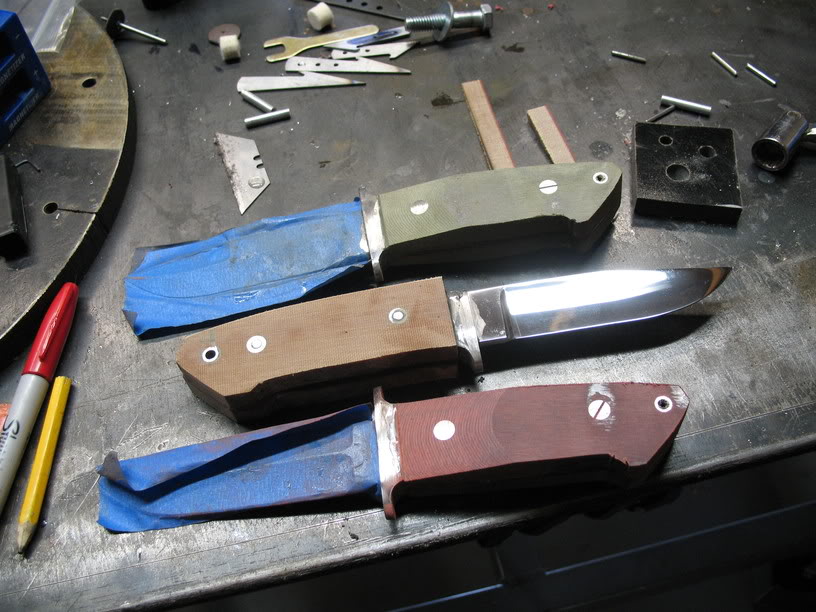
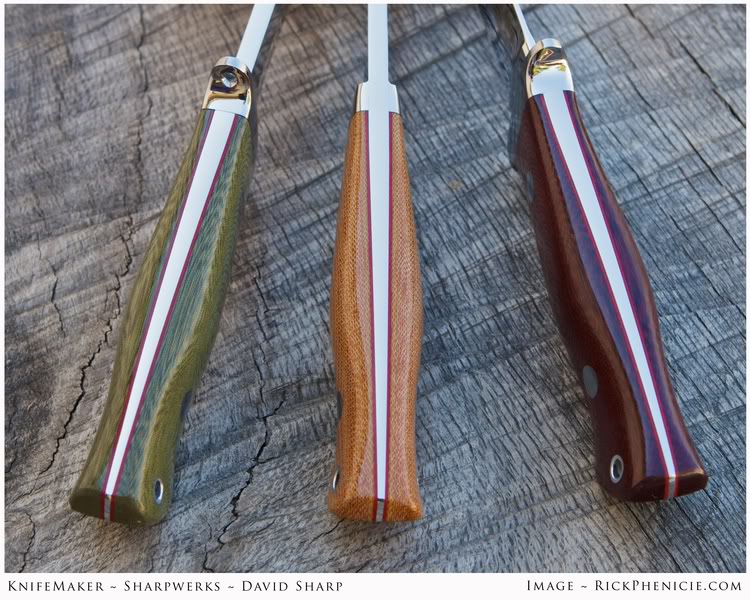
And after some fine tuning you end up with the finished knives (buffing, logo etch, satin flats, etc..).
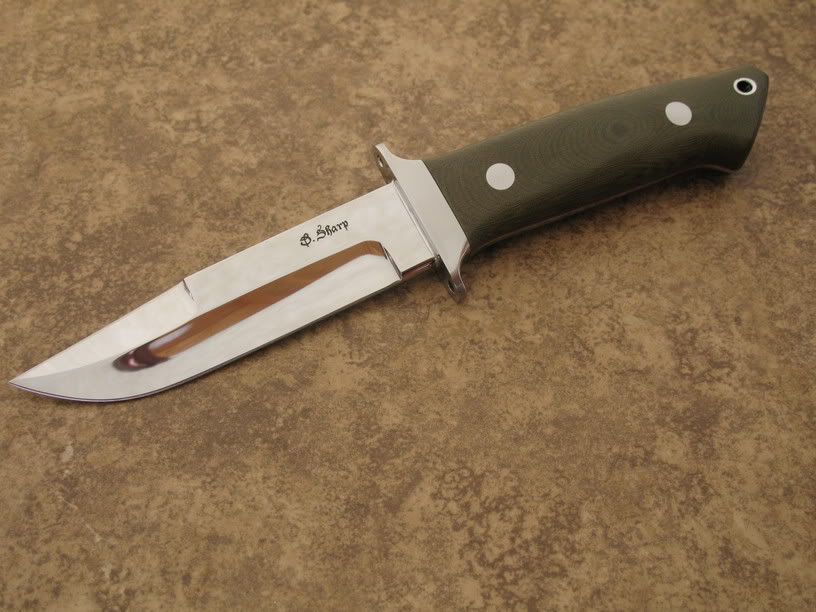
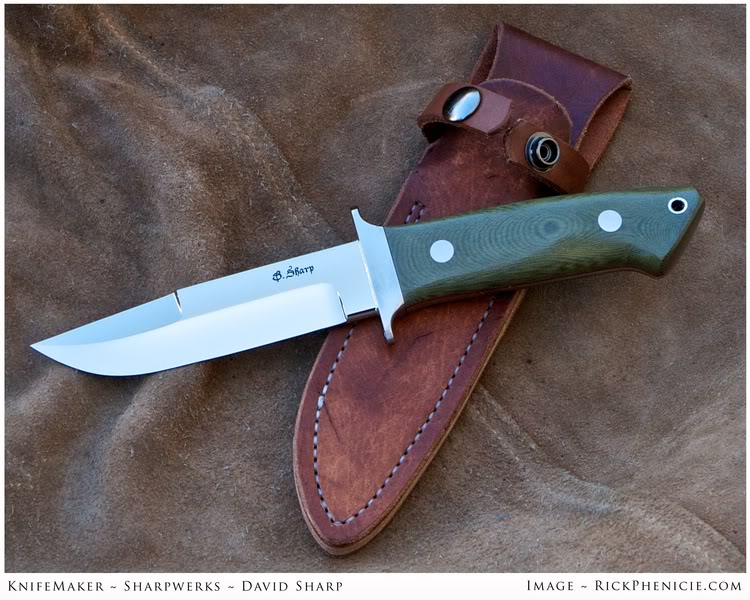
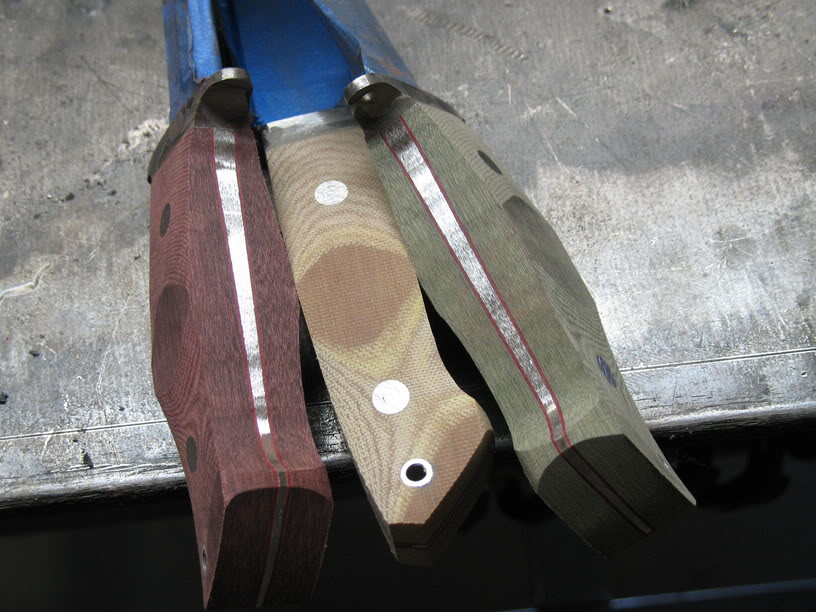
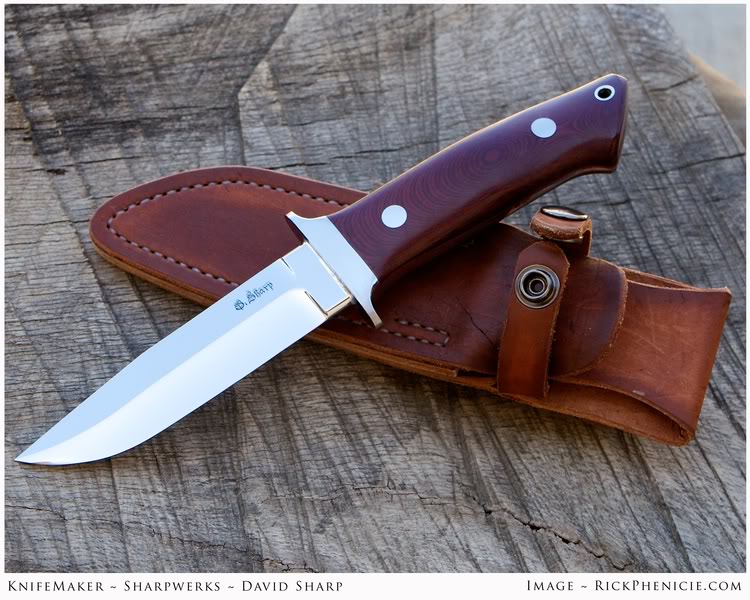
Traditional Chute with green linen. The color is off in the second photo.
A Mini-Wilderness with maroon Micarta
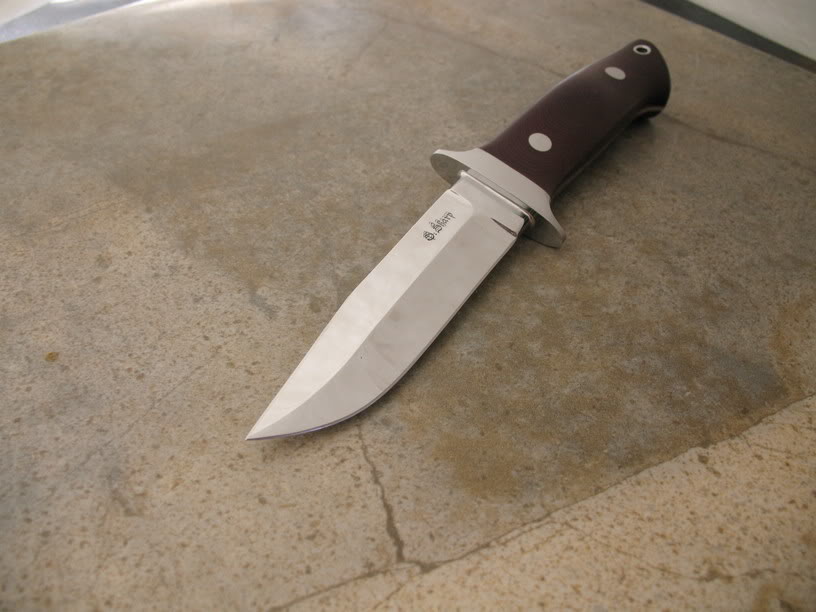
A standard 4.5" Utility Hunter.
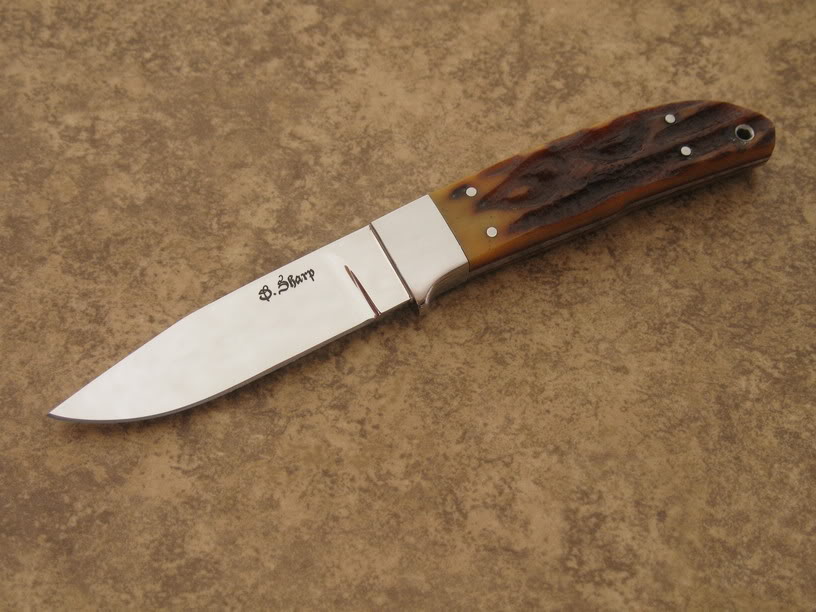
A Utility Stiff Horn with jigged bone. This one has a very small guard; after finding pictures that indicate there are some that came form the Loveless shop this way (Mr. Merritt confirmed this). It makes for a better feeling knife.
After doing this I have a much larger respect for those that try to document their work. I am only able to work on knife projects Friday evening through Sunday. I calculate that this process took about 2 weekends worth of time.